How to Press Flowers for Framing, to Create a Lovely Gift or Keepsake
Published Aug. 22 2023, 9:43 a.m. ET
If you’ve ever received flowers for a special occasion or celebration, you know how hard it can be when it’s time to toss them out. But what if you could make them last (almost) forever?
Pressing flowers for framing is not only a fun activity, it’s also a wonderful way to preserve memories. This craft can make for some lovely decor or a thoughtful gift too. Keep reading to learn how to press and frame flowers at home.
First, choose the flowers you want to press.
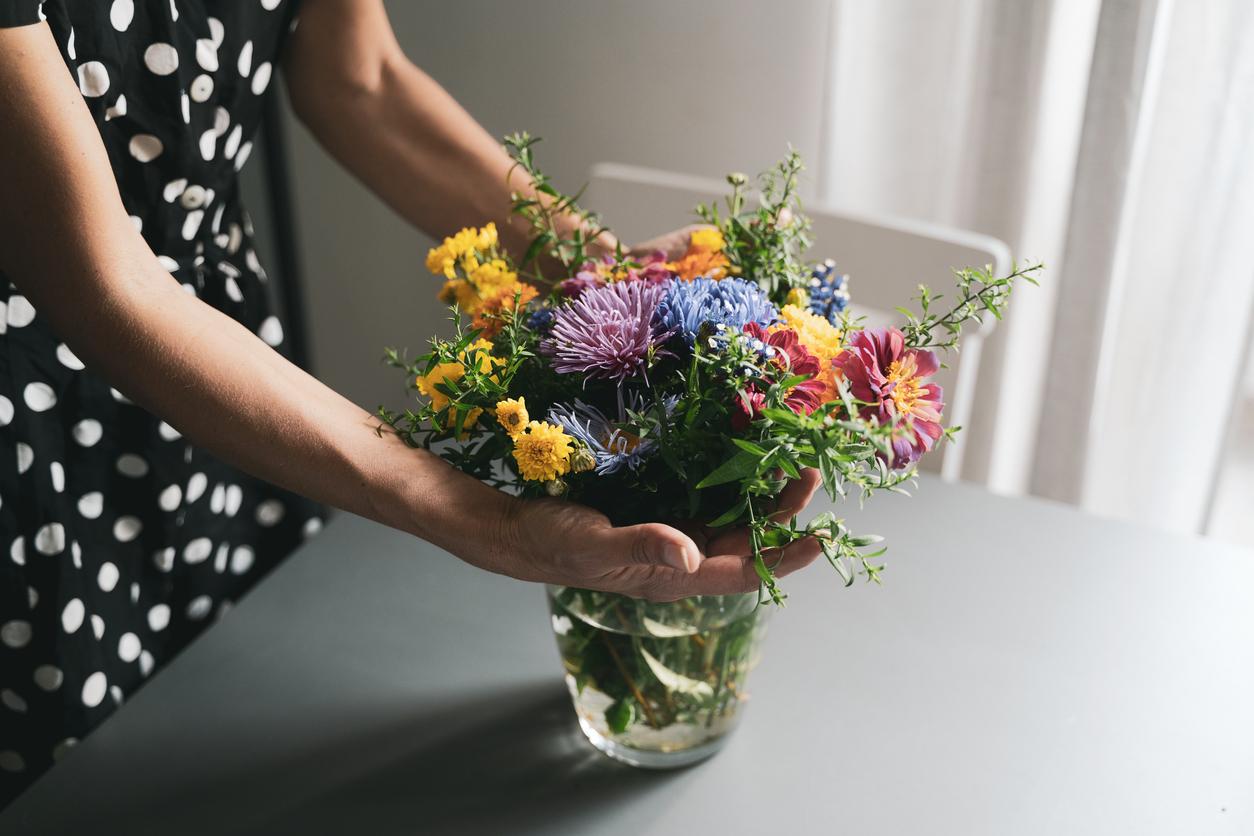
While it’s possible to successfully press most flowers, some yield better results than others. By choosing certain types of flowers and avoiding others, you’re more likely to get a nicer end product.
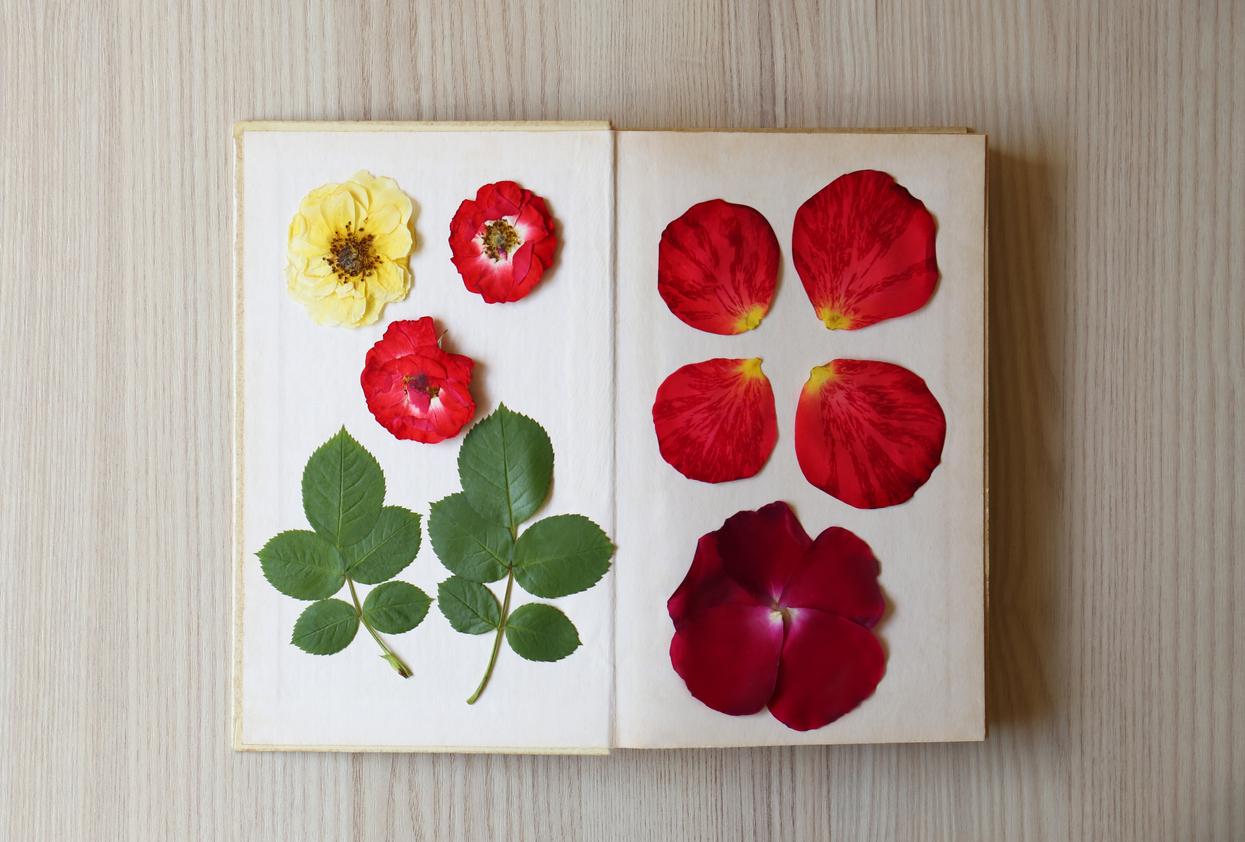
Typically, flat-faced flowers with only one layer of petals are best for pressing, according to First Day of Home. A few examples include roses, zinnias, pansies, and vincas.
On the other hand, flowers with larger bulbs might present more of a challenge. For these larger or more spherical blooms, it can be easier to try preserving the entire plant rather than just the petals. Sometimes it’s helpful to separate the petals or divide the flower into two before pressing.
Decide on a flower-pressing method.
Once you’ve chosen your flowers, it’s time to decide which pressing method you want to use. There are a ton of different ways to press flowers, but three methods are particularly popular: Using a book, iron, or microwave.
When contemplating which method to use, it's important to remember that there isn't a wrong answer. Your decision should be based on what supplies you have available, how much time you have, and what kind of results you're hoping for. Each process will give you unique results.
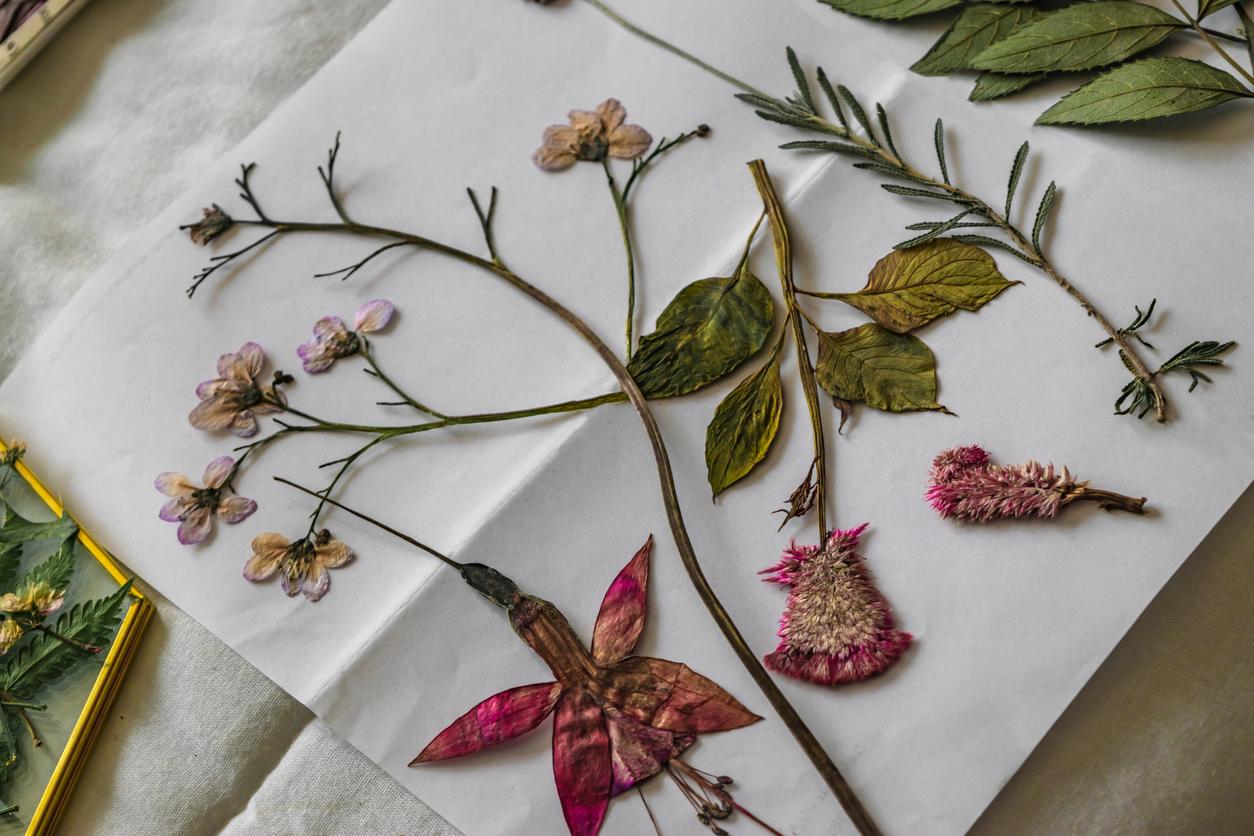
To press your flowers using a book, you will need absorbent paper and a really heavy book, according to Better Homes and Gardens. This process is pretty straightforward, but it does require a bit of time — about two to three weeks. So if patience isn’t your strong suit, then a different method is probably ideal.
However, the results are definitely worth the wait. Flowers pressed in a book tend to be flatter (which is ideal) and more vibrant compared to those pressed with other methods.
If you don’t have much time, the two other strategies — using the microwave or ironing — are better alternatives.
Using an iron is the quickest way to press flowers — it takes less than seven minutes. Plus, you only need two things: Absorbent paper and an iron. The only caveat here is that the color and texture don’t always turn out the best.
Pressing your flowers in the microwave is a great middle-of-the-road option. It only takes about 10 minutes, and the blooms will retain a decent amount of color. To do this, you can get a microwave press or simply use a book without metal accents.
The main downside of using a microwave is that it's easy to scorch your flowers. This can be avoided by putting them in for only 30 to 60 seconds at a time.
Here’s what you’ll need to frame your newly pressed flowers:

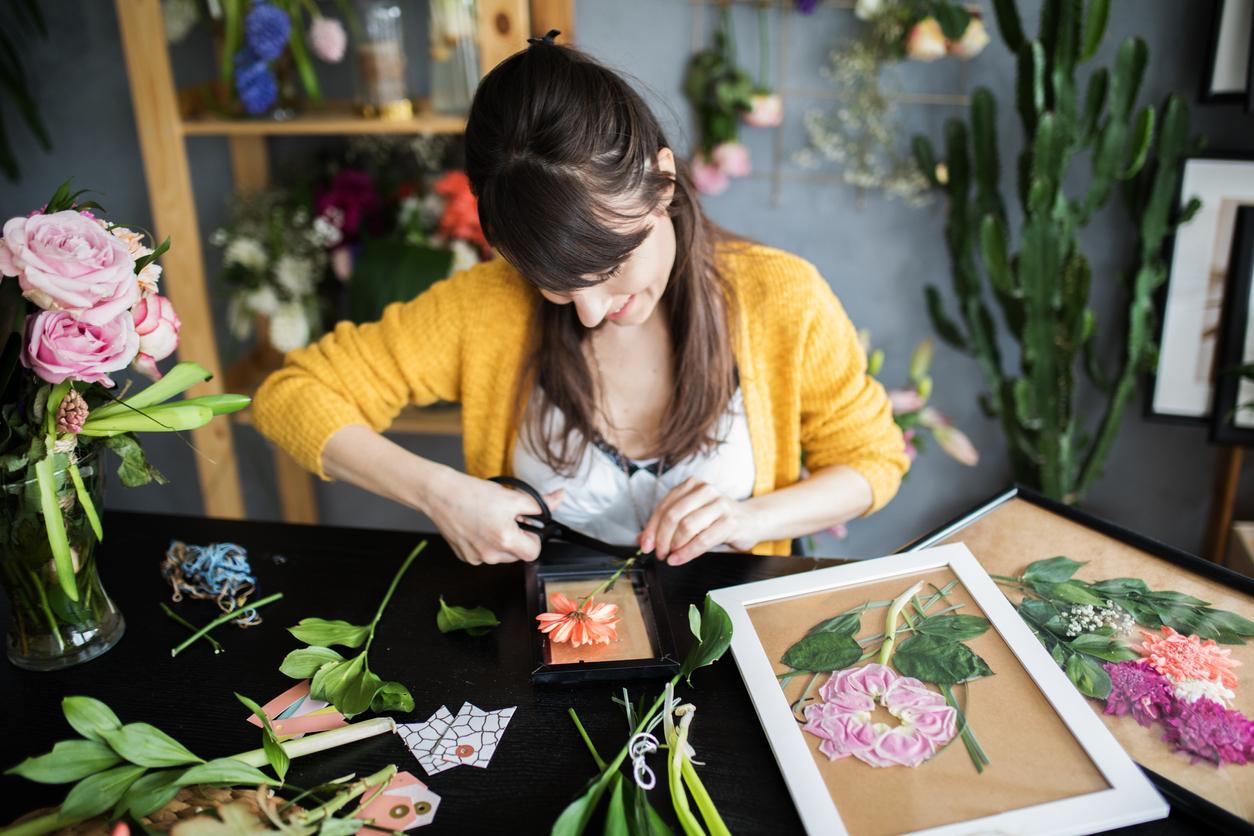
Now that the flowers are all pressed and ready to go, you can put your crafting skills to use. To frame them, you’ll need scissors, tweezers, Mod Podge glue, a paintbrush, and a few glass frames, according to Cool, Mom, and Collected. You can get whatever kind of frames you’d like — it doesn’t matter the size or shape.
How to frame pressed flowers:
Before you begin, it’s helpful to get a sense of what kind of layout you want. After you try out a couple of different flower arrangements and decide which one is best, you can get to work.
First, assemble your blooms onto the frame in your chosen pattern with your tweezers. Don’t be afraid to cut off any pesky stems or petals.
Using your paintbrush, spread a thin coat of Mod Podge glue over the flowers — the glue is white, but it will dry clear. If you want to ensure that they’re locked into place, you can do an extra layer. Be very gentle during this process, as you don’t want to damage the flowers or move them out of position.
When the glue is clear, you can close the frame! This craft is a super simple way to preserve old flowers and memories.