Attention Plant Parents: This Is How You Should Be Propagating Your ZZ Plant
Published July 3 2023, 10:09 a.m. ET

If you’ve ever admired your ZZ plant (Zamioculcas zamiifolia) so much that you’ve longed to have another, then you’re in luck. By learning how to propagate your ZZ plant, you can create an entirely new one for free.
In general, propagation is kind of a big deal in the plant community. It’s a practice that allows you to replicate desired traits and stay away from any unwanted qualities, as well as produce more of a specific species.
You can learn how to propagate a ZZ plant in three different ways.
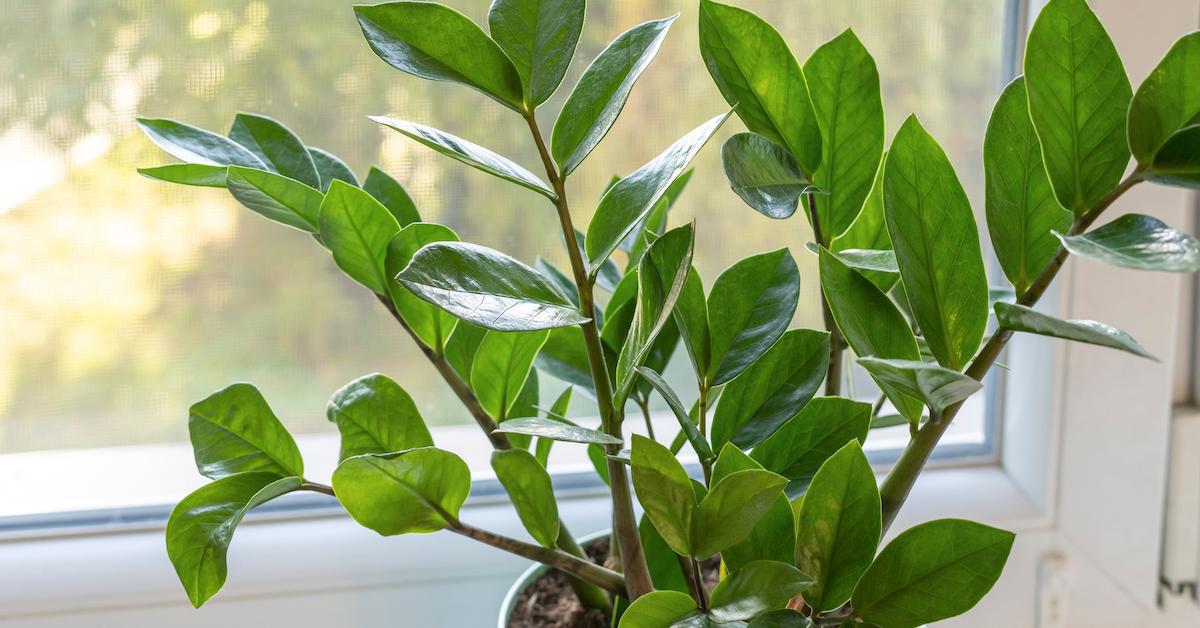
Most plants can be propagated from stem cuttings, leaf cuttings, or division, according to Blooming Backyard. All of these techniques are relatively easy and effective, so there’s no wrong option.
However, using stem cuttings tends to be the most popular way to propagate ZZ plants. It’s extremely simple, quick, and reliable. This doesn’t mean that you shouldn’t still try the other methods — you could be more successful with leaf cuttings or division. It’s all about trial and error!
Propagate your ZZ plant using stem cuttings:
To propagate your ZZ plant from stem cuttings, you’ll need a pair of scissors or pruning shears. Selecting the right stem is super important — you want it to be as healthy as possible. Look for a stem with a lot of dense, dark green leaves and very few imperfections. Try to avoid stems that show signs of damage or disease, like yellow leaves.
Once you’ve chosen the best stem, it’s time to make the cut. Don’t forget to clean your scissors or shears beforehand, as this helps prevent the spread of bacteria and disease. When you make the cut, be sure to leave at least a 4-inch section of stem — this will ensure that there’s enough space to add it to water or soil.
Gently pull the leaves off the stem, leaving just a few near the top. If you wanted to try propagating your ZZ plant using the leaf-cutting method, you could save them for later.
Stem cuttings can be rooted in water or soil. When rooted in water, it’s easier to inspect root and rhizome growth, but in soil, roots tend to grow stronger — both methods have strengths and weaknesses.
To root your cutting in water, you’ll need a clean, tall glass. Fill the glass about halfway with water, add the stem, and then place it in a bright area away from direct sunlight.
If you choose to root your cutting in soil, you will need a well-draining soil mixture and a pot. Add the soil into the pot, taking care to water it before introducing the new cutting. Just like the water-rooting method, you should place the pot in a bright spot without direct sunlight. Pro tip: keep the soil moist until you see new growth!
Leaf cuttings provide another way to propagate your ZZ plant.
Propagating a ZZ plant with leaf cuttings isn’t much different than using the stem. First, start by selecting some healthy leaves — you can propagate more than just one. When you twist each leaf off, be sure to leave some of the stem attached.
To root your leaf cutting in water, you will need a small, thin glass. Choosing the right glass is important because you don’t want the leaf to be completely submerged or unable to stay upright.
The process for rooting leaves in soil is the same as rooting stems in soil. Add your soil mixture to a pot and insert the bottom section of the leaves. Be patient — it might take a bit for these to grow.
People also like to use the division method to propagate their ZZ plants.
While some say it’s easiest to propagate a ZZ plant with stem cuttings, others say that division is the way to go. This method works best when you have a mature plant, according to The Spruce.
Get started by carefully removing your plant from its pot. Once your plant is removed, gently divide up the clumps of rhizomes. Now, all you have to do is take your plants and add them to their new pots.