How to Crochet a Beanie: An Easy Step-by-Step Tutorial for Beginners
Published Jan. 2 2024, 10:18 a.m. ET
The Gist:
- At first, learning how to crochet can be overwhelming, but some projects are a lot easier than they seem.
- It’s possible to crochet a simple beanie with a beginner skillset.
- With the right tutorial, you can finish a beanie project in less than two hours — we have a step-by-step guide, below.
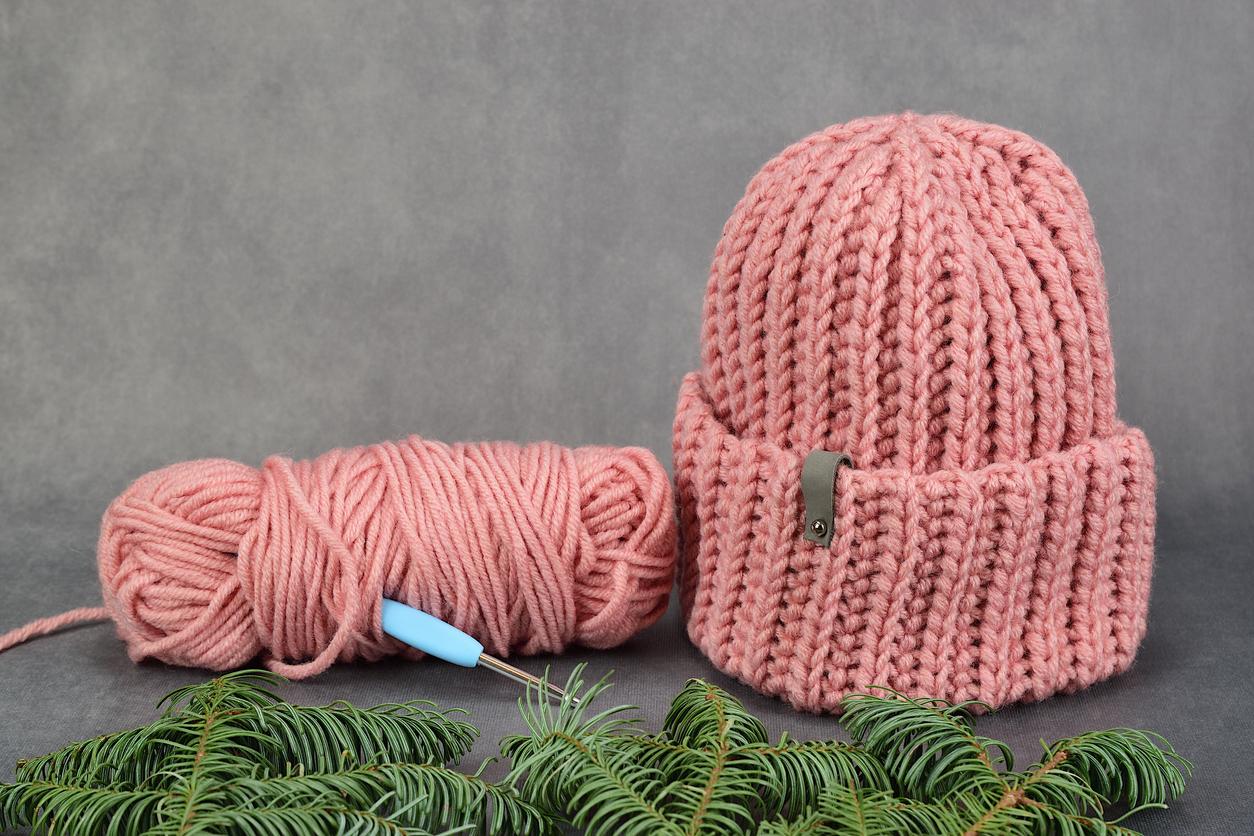
Learning how to crochet a beanie might sound intimidating, but a lot of patterns are actually great for beginners. Most of the time, these tutorials require very basic knowledge.
A hat is a perfect first project for anyone who isn’t interested in starting with granny squares. Keep reading to learn everything you need to know about crocheting a beanie, aka a toque.
Step 1: Find a tutorial or crochet beanie pattern that’s easy to follow.

There are all kinds of ways to learn how to crochet something. You can follow a pattern from a book or a blog post, watch a video tutorial online, or receive in-person guidance from an instructor or friend. The only thing that matters is choosing a method that works best for you.
For easy, straightforward instructions, check out Sigoni Macaroni’s 30-minute tutorial for new crocheters. To follow this simple pattern, you only need to understand how to make a chain and a double crochet stitch.
Step 2: Gather your crochet supplies.
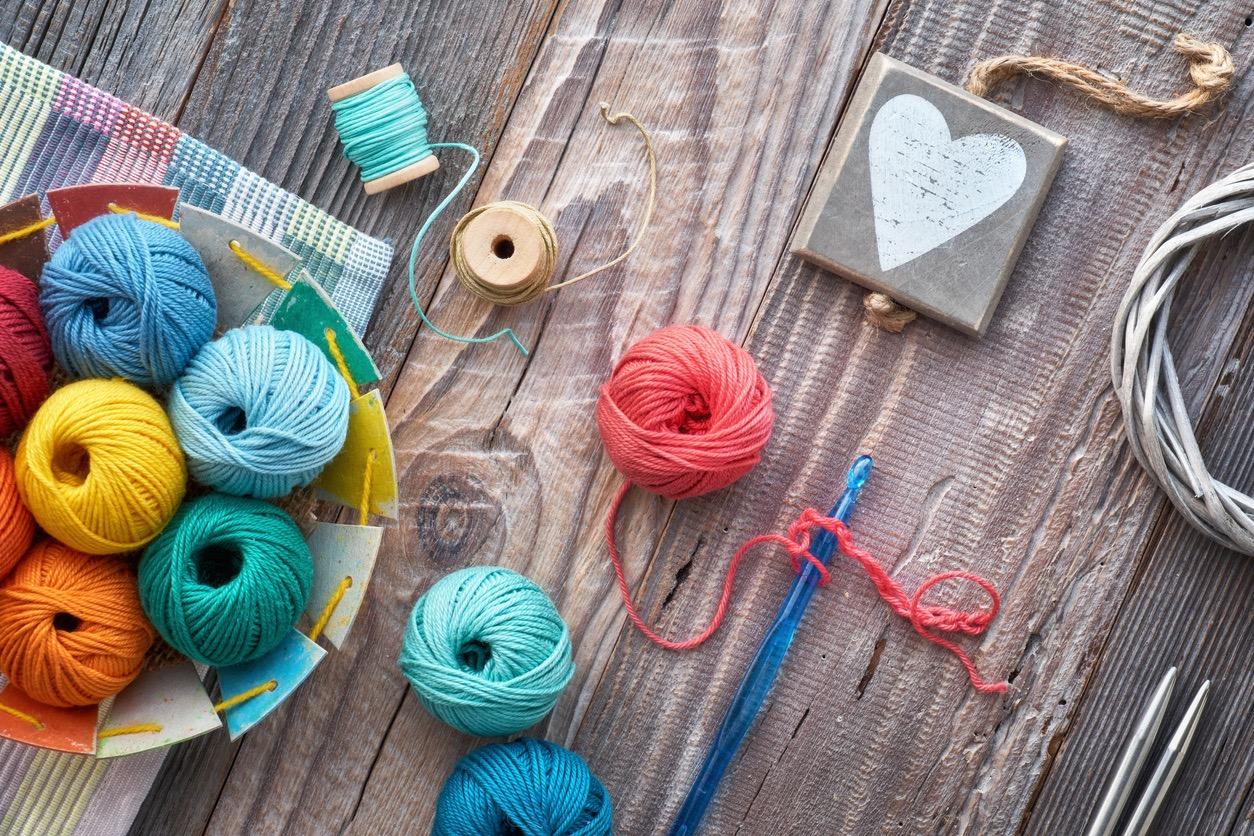
Basic beanie patterns require very few supplies. To complete the steps below, you’ll need one skein of yarn, a hook, and a tapestry needle. You’ll want to use a heavier yarn and a larger hook — this will make the whole process much faster and easier.
Using a tiny hook and thin yarn to create your beanie would take forever. Sigoni Macaroni used a super bulky yarn (weight 6) and an 8-millimeter hook.
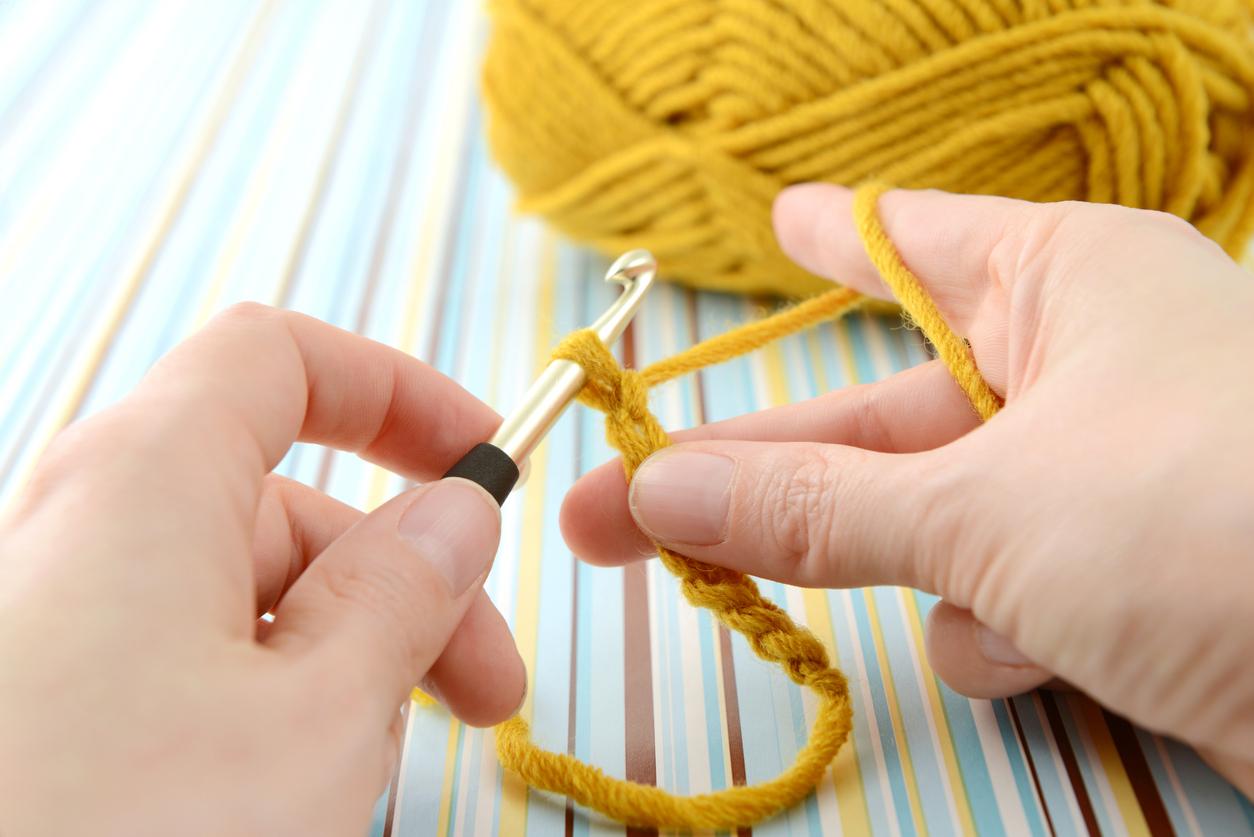
Step 3: Make your first row of stitches.
Even though beanies are great for beginners, there’s one thing that can get a little tricky: gauge. Making a hat that’s the right size can be a challenge — many newbies end up making it way too small. Luckily, there are tons of great resources on the internet to help.
The Craft Yarn Council provides crocheters with a handy chart that details the average head circumference at different ages. This can help give you an idea of how big or small your beanie should be. Adults are usually between 21 and 24 inches. The following steps will teach you how to make a hat in an adult size.
To begin your beanie, make a slipknot and chain four. Next, count four chains from the hook — here, you will insert nine double crochets. Once you’ve completed your nine double crochets, you will slip stitch into the top of the chain three.
Continue onto the next round by chaining three and adding one double crochet stitch into the base of that same chain. To create the second round, add two double crochet into each stitch. Finish it off by repeating the final slip stitch from the first round.
Step 4: Increase the number of stitches as you go.
For round three, follow the same beginning instructions as round two. However, instead of adding two double crochets into each stitch, you will alternate — start by adding two double crochets and then insert only one into the next. Repeat this pattern until you finish the round.
As you can see, the transition steps stay the same throughout the process while the stitch pattern varies.
In round four, add one double crochet into each of the next two stitches. Now, add two double crochet. Follow this pattern until round four is completed.
In round five, don’t add a stitch into the base of the chain — skip to the next space. For rounds five through nine, you will double-crochet into each stitch.
Step 5: To finish your beanie, fasten off and weave in your ends.
Once you’ve completed round nine, your beanie is almost finished! To complete the project, slip stitch into the final chain and cut the yarn, leaving a long tail. Weave the end throughout your hat using a tapestry needle.