What Is M1 in Knitting? Here’s Everything You Need to Know About the Term
Published Jan. 29 2024, 4:53 p.m. ET

Every hobby comes with its own unique terms and techniques, and knitting is no exception. You might’ve heard about double-pointed needles, blocking, wales, froggings, and the m1 increase.
What is M1 in knitting? Stick around to learn everything there is to know about his commonly used increase, including a few helpful tips and tricks.
What is M1 in knitting?
In the knitting world, m1 stands for “make one,” according to Elizabeth Smith Knits. In most patterns, you will see this written as “m1-L” or “m1-R,” which indicates the direction of the stitch increase (either left or right).
Even though there are many different types of increases in knitting, the m1 method is very popular. Not only is it incredibly simple and perfect for beginners, but it also has many practical implications.
Rather than leaving behind any bumps or imperfections, the m1 technique creates a flat stitch — many knitters desire this quality. The increase can also have a sort of decorative element, thanks to the corresponding m1-L and m1-R stitches.
Compared to other popular knitting increases, such as the knit front back (knb), the m1 method is quite flexible. Instead of using an existing stitch to increase, you can create it from nothing with m1 — many knitters appreciate the flexibility this can offer when working on a design.
How to increase stitches with M1:
Now that you’ve learned why the m1 increasing method is so great, why not try it? According to Nimble Needles, you will need whatever type of yarn you prefer and a pair of knitting needles to get started.
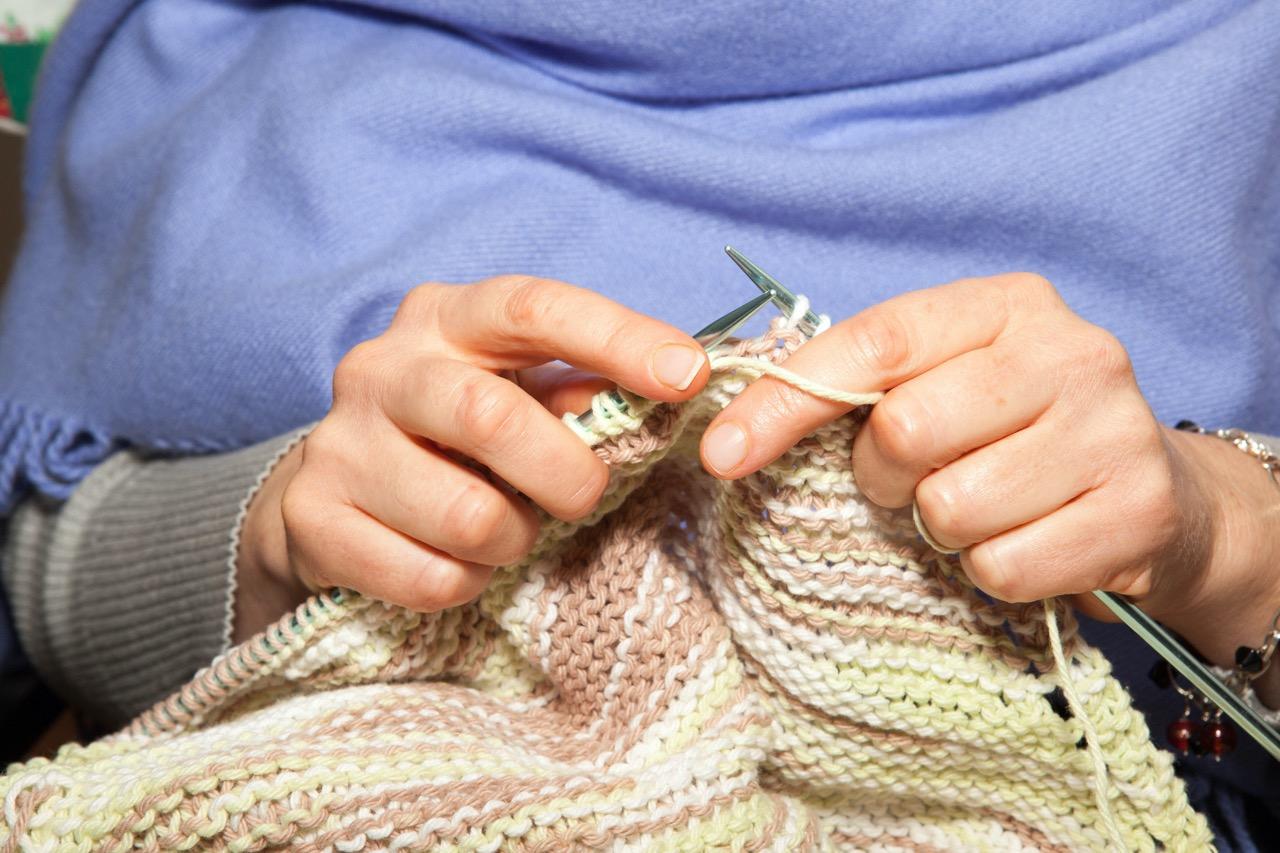
Begin by knitting up until you reach where you want to make an increase. Next, gently pull your needles away from one another, just enough to notice the yarn that’s connecting the two stitches. Move that middle strand to the left needle and then insert the needle into the new loop.
Now, grab your yarn and wrap it counterclockwise around the needle. To finish, pull the yarn all the way through and ditch the stitch on the left needle. It’s important to note that an m1 is different from an m1-L or an m1-R, so those will require slightly different directions.
Tips and tricks for mastering the M1 increase:
Whether you’ve been knitting for years or you’re totally new to the game, it never hurts to pick up a few tips and tricks. The goal is to always improve, after all!
This first tip might seem obvious, but it can be super handy for all the newbies out there: Write it down. Learning a new technique is already hard, and trying to remember every little detail only makes things worse.
Grab a pen and paper (or even your phone), and write down the definitions of m1-L and m1-R. Thanks to this simple reminder, you won’t have to worry about scrambling around for information when you inevitably forget something.
It’s not uncommon to lose focus while knitting. If you forget which way to knit the yarn from, it’s helpful to remember that it’s always the opposite of how it was picked up. This means that if you picked up your yarn from the back, you would work into the front.