A Step-by-Step Guide to Repotting Your Snake Plant
Published June 29 2023, 9:50 a.m. ET

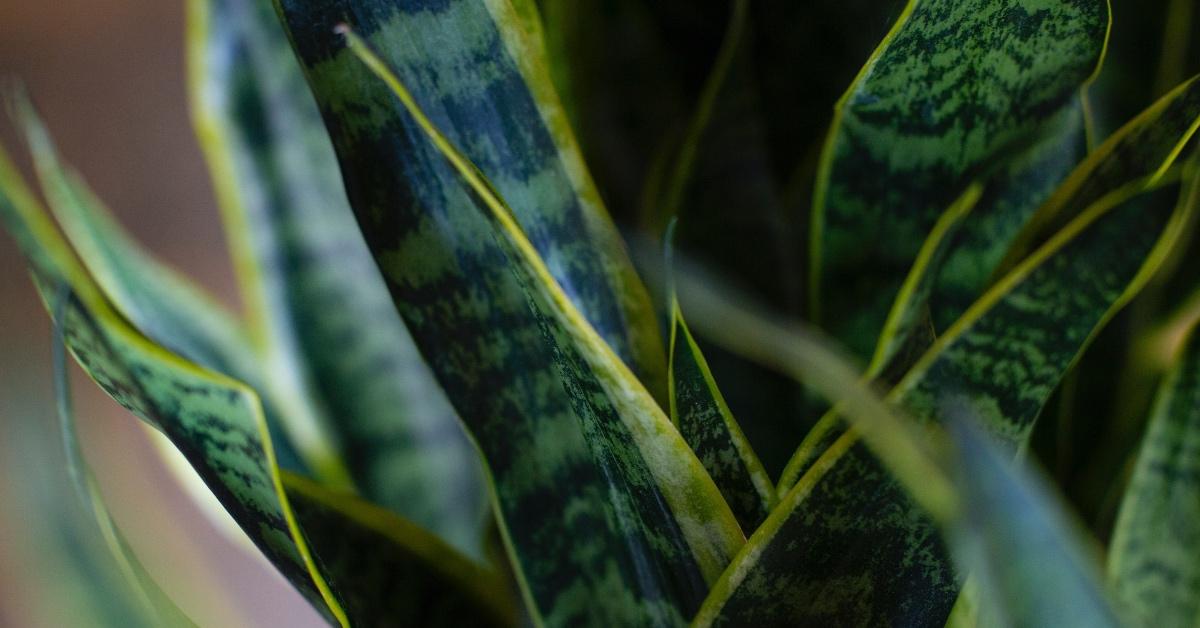
If you’re reading this, then you’re probably thinking that it’s time to learn how to repot your snake plant. Don’t worry, it’s pretty easy — all you need is a new planter and some potting mix.
The task might seem daunting, especially if you have more than one plant to repot, but it will be well worth the effort. Not only will repotting help your plants live longer, but it will also allow them to totally thrive. So keep reading for everything you need to know about how to repot a snake plant.
How do you know it's time to repot a snake plant?
Determining whether or not your plant needs to be repotted can be tricky. Thankfully, many experts are out there to help you figure it out.
One of the biggest and most obvious indicators that repotting is necessary is if your pot is cracking, according to Blooming Backyard. A cracked pot is a huge sign that your snake plant needs a new home.
Another easy-to-spot sign: Roots growing out of the drainage holes. Drainage holes typically happen when the plant grows and the roots have nowhere else to go. Without repotting, your snake plant will eventually die from overcrowding.
According to the University of Arkansas, Division of Agriculture Research & Extension, few houseplants need repotting more than once a year, and on average, it's good to repot your plants every three to five years. Sometimes, using mineral soil can also help reduce the need for repotting!
First, remove the snake plant from the pot.
When removing your snake plant, it’s important to be gentle — slow and steady wins the race. You should use one hand to grab the base of the plant and the other to hold the bottom of the pot, according to The Spruce.
The plant could get damaged if you try to pull it out of the pot too aggressively. It’s best to gently wiggle and pull the snake plant out to avoid any mishaps. Sometimes, plants get stuck in their pots. In this case, cutting the pot (if it’s plastic) or using a trowel to loosen the soil might be necessary.
Once your snake plant has been safely removed from its pot, it’s time to remove the extra soil surrounding the roots. To do this, simply comb your fingers through the roots.
Next, assess the condition of your snake plant.
Remove any brown leaves and damaged roots when examining the plant — this will help keep it nice and healthy. If you want to propagate your snake plant, divide it or get a few stem cuttings during this step.
Now that you’ve assessed your plant and ensured it’s in good condition, you can move it into its new home.
Finally, place the plant in a new pot.
Grab the new, larger pot and your potting mix. Hold your plant in the center of the pot and start adding soil around it — there should only be about an inch of space between the top of the soil and the rim of the pot. Make sure that the plant is firmly in place.
If you’ve added dry soil to the pot, water it well. However, if the soil added was already moist, you can wait a few days. In any case, it’s important not to overwater — this can cause stress for snake plants, which is never good. Once the soil is dry again, you can resume your regular care routine.