Here’s How You Can Make a Plastic Bottle Garden This Spring
Published Jan. 23 2023, 2:37 p.m. ET
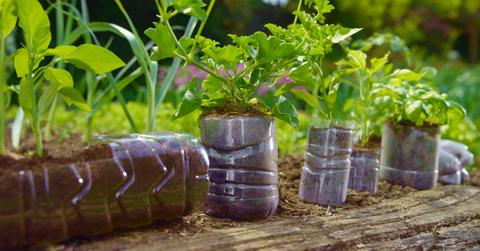
If one of your goals for the new year is to start a garden, then you’re in the right place. Gardening can be a little bit intimidating, especially if you’re a beginner, as there are many different factors to consider.
Learning how to make a plastic bottle garden is an excellent place to start. You can grow just a few plants, to begin with, and it’s relatively simple. Plus, finding a way to reuse and repurpose materials that typically go to waste is a huge win for the environment.
Here’s what you’ll need to make a plastic bottle garden:
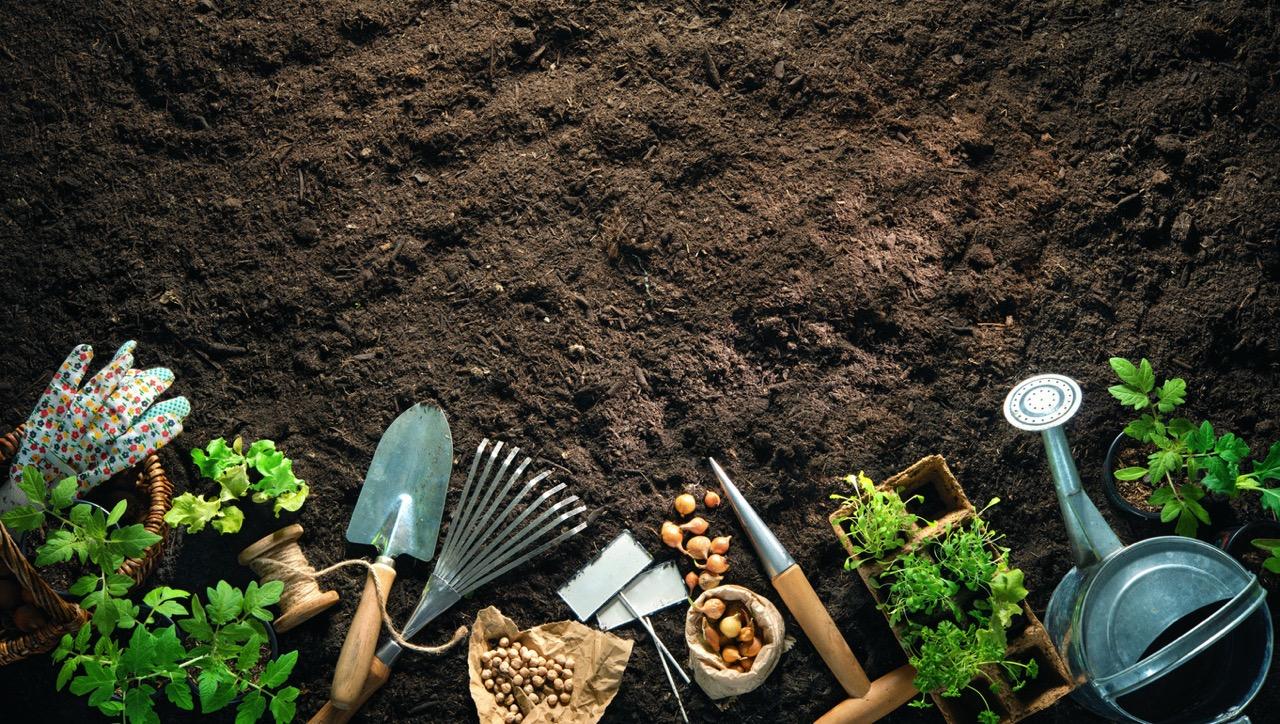
There are actually a few different ways you can create a garden with plastic bottles. You can use them to make a vertical garden, or you can just use the bottles as planters — your materials will be determined by which one you choose.
If you’re looking for something with fewer materials, then making planters is the way to go. You will need plastic bottles (as many as you want), scissors, soil, and seeds (or an already-grown plant).
If you want to make a lot of planters but don’t have a lot of space, then creating a vertical garden would make for a great solution. For this, you’re basically still making planters, but you’re hanging them on a wall or some sort of structure. This means that in addition to the plastic bottles, scissors, soil, and seeds, you will also need hanging materials and a place for your planters to go.
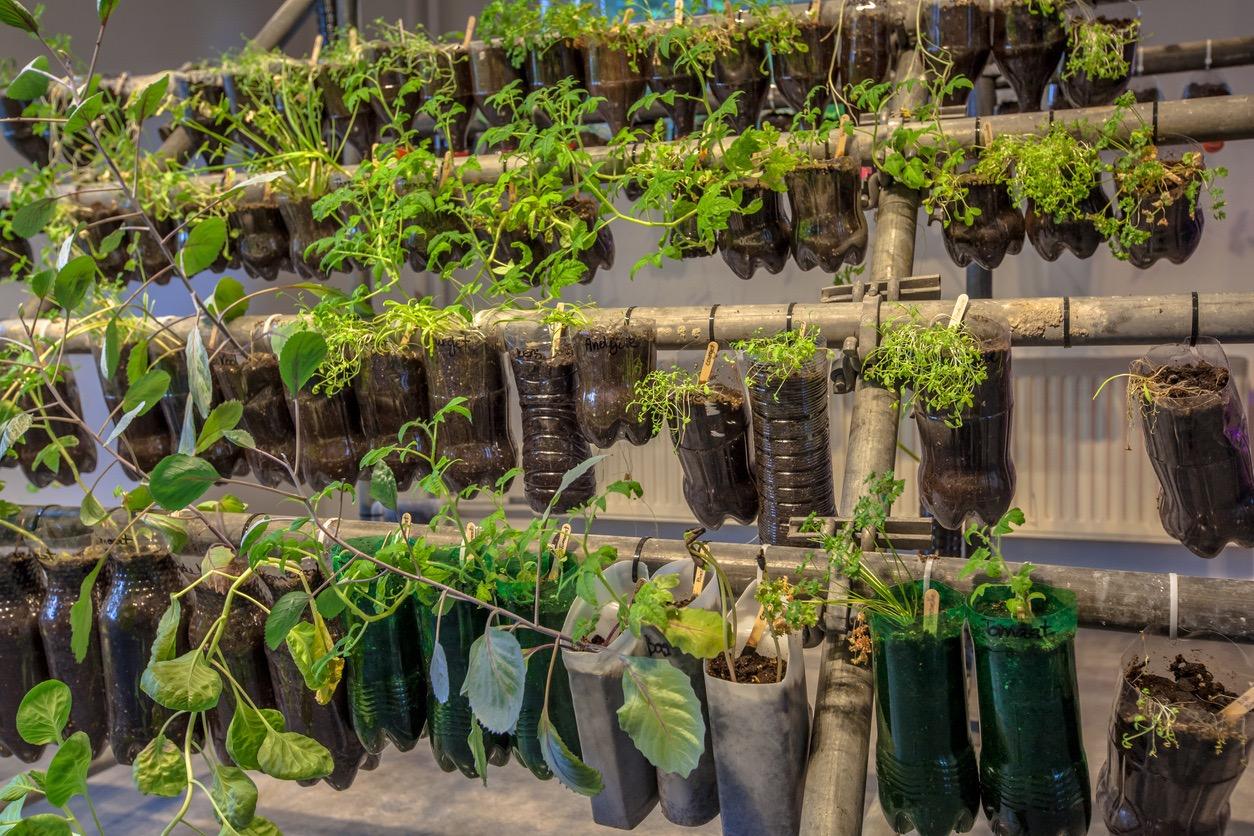
When it comes to hanging the plants, using a strong and durable material is important. Something like yarn or twine would be a good choice.
As for actually hanging the plants onto something, there are a lot of ways you can go about it. For beginners, the easiest way might be to tie the plastic planters around a structure. You can hang a wooden or metal rod from a window or ceiling and add your plants to that, or you could use a tree branch from outside.
Let’s get started!
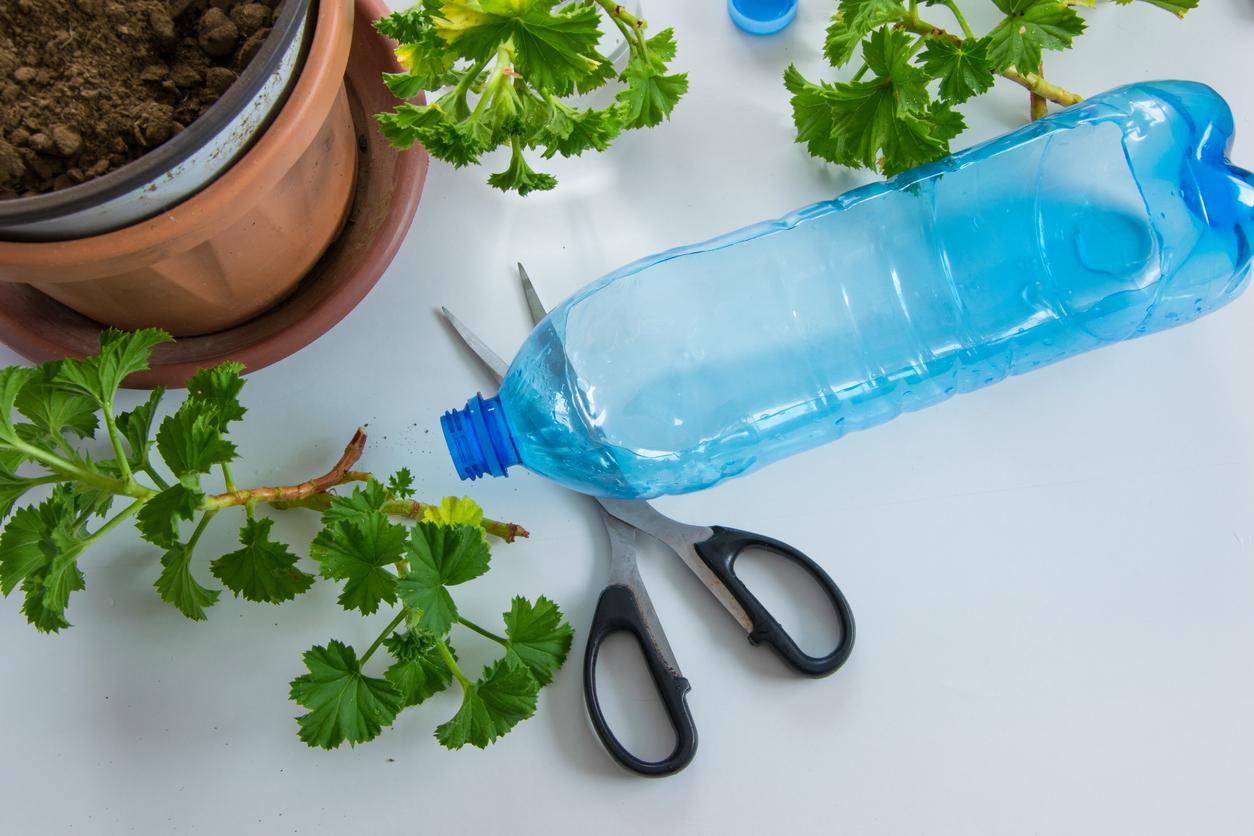
Now that you’ve chosen a garden type and gathered the necessary materials, it’s time to start your project.
Whether you’re making a vertical garden or regular planters, the first step will be the same: You must determine if you want your plastic planter to be horizontal or vertical. Depending on which you choose, you will cut the bottle differently.
To make vertical planters, you can cut the bottle in half. If you want more room for soil, make your cut slightly higher (closer to the cap). For a horizontal planter, lay the bottle on its side and cut a large rectangle into the top. If you’re a visual learner, it might be helpful to look up pictures and videos as a reference!
If you’ve chosen to make a regular plastic bottle garden, then you’re already almost done. All you have left to do is add the soil and the seeds (or plant). For the vertical garden, keep reading for more instructions.
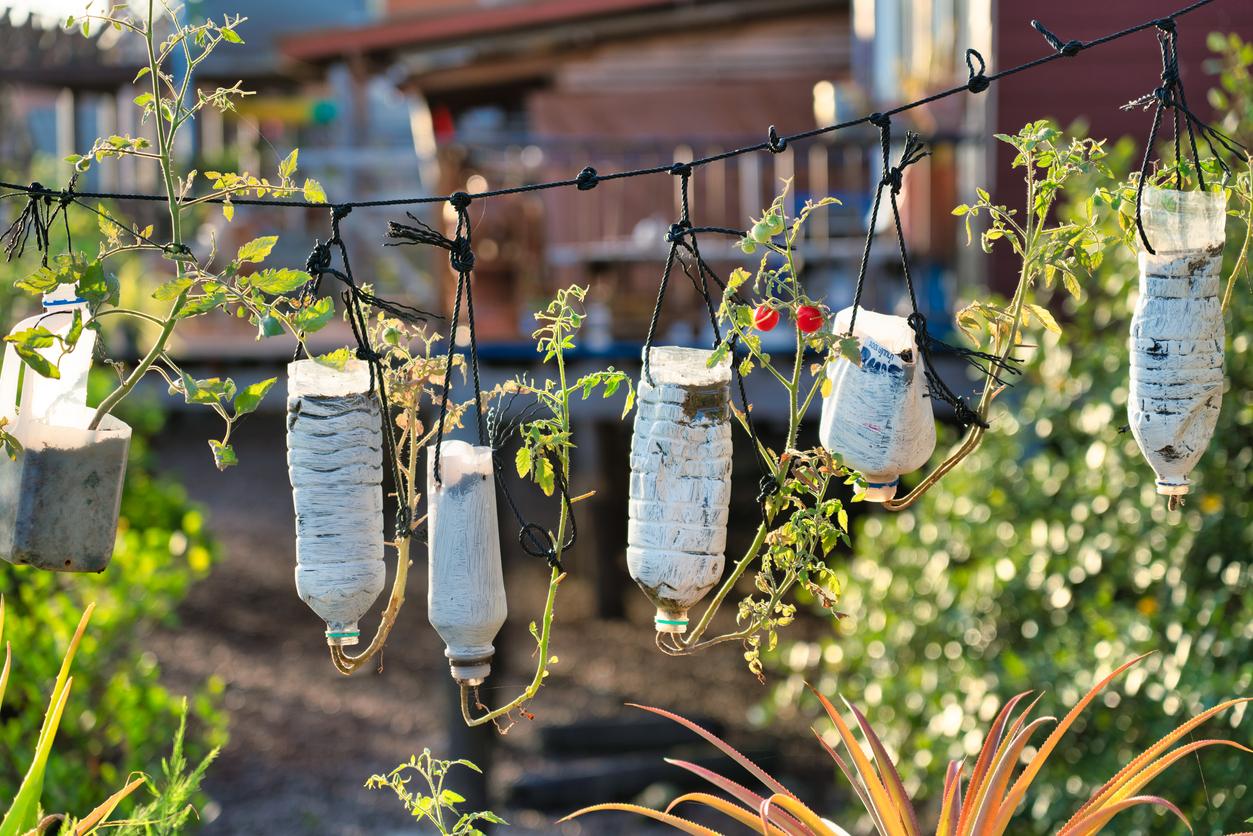
Next, you’re going to add two holes (they must be big enough for your twine or yarn to fit through) on each side of the large rectangle you made. Pull your hanging material through these holes and create knots to hold it in place — now you should be able to pick up your planter by holding onto the yarn or twine. To create a vertical garden with vertical bottles, it’s going to take more yarn or twine and you’ll have to make three holes.
Now, you can add the soil and seeds to your planter and attach it to whatever hanging structure you’ve chosen! All things considered, making your own plastic bottle garden isn’t too complicated. Plus, there are a ton of different ways to customize the project to make it even better. It's important to remember that there's not just one way to do this. You could cut your bottle differently, or hang your bottles in a different way — it’s completely up to you.