How to Make DIY Concrete Planters
Published Feb. 12 2021, 4:31 p.m. ET

Homemade concrete planters are a fun, easy DIY project that you can accomplish over a long weekend. Making the planter yourself will give you a level of control over the size and shape of the final product. You can make smaller, more decorative planters for your succulents, or larger, more robust ones for the backyard patio. No matter your needs, learning how to make concrete planters is as easy as following the steps below.
How to make a concrete planter:
For those who don't know, concrete planters are durable, industrial-looking, environmentally-friendly planters that can be used to decorate both indoor and outdoor spaces. Read on for six easy steps to making your own cement planters, according to this set of DIY instructions adapted from Timber & Tea.
Step 1: Decide on the shape of the planter and create a mold.
This can be made of wood or plastic and cut into the shape you want. However, you could use a different, existing shape, like a plastic bucket or an existing planter. Just be sure to use a sturdy material, as even the most durable plastic planters might crack in the unmolding process.
Wood molds last longer and can be constructed to be used, taken apart, reattached, and used over and over again — though they take a bit more technical know-how to produce. Also, note that any material you intend to use as a mold should have a smooth surface. Any bumps, patterns, or imperfections on the mold will be visible once the concrete dries.
If you are using a smaller mold or building a plastic one from scratch, packing tape or duct tape are excellent means of sticking the mold together, though packing tape works best because it tends to be smooth. Get the sides as airtight and perfect as you can. Any open areas might cause seepage or breakage when the concrete is poured.
Step 2: Create an interior form and attach a plastic cover around it.
You need to make a spacer in your mold for where you intend the plant to go. For smaller molds, a paper towel roll, thick plastic cup, or another item that fits into the mold will work. For larger molds or wooden ones, you might have to construct a smaller mold inside. Either way, you’ll need to completely cover the sides and bottom of the interior spacer with more packing tape.
You could also tape a thin plastic bag around all sides or lube up the inside of the mold and interior form with vegetable oil or petroleum jelly to make it easier to separate when it dries.
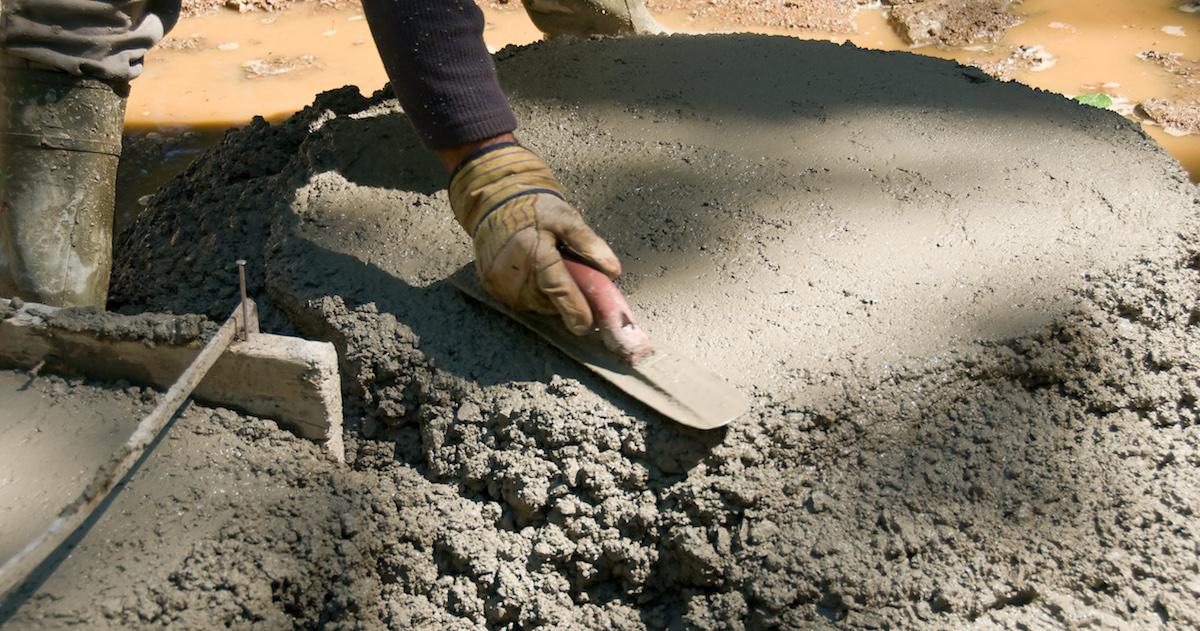
Step 3: Mix the concrete.
You can use any concrete for this type of work, but the cheapest and most widely available is Quikrete. It works fast and can be found at most hardware stores. It also comes in several different size bags. All you need to do is add water. When adding water to Quikrete, remember to go slow. You may need way less than you realize, and you can’t take any out once you've added it, so go slow. Once the concrete has reached the consistency of oatmeal, you should be good to pour.
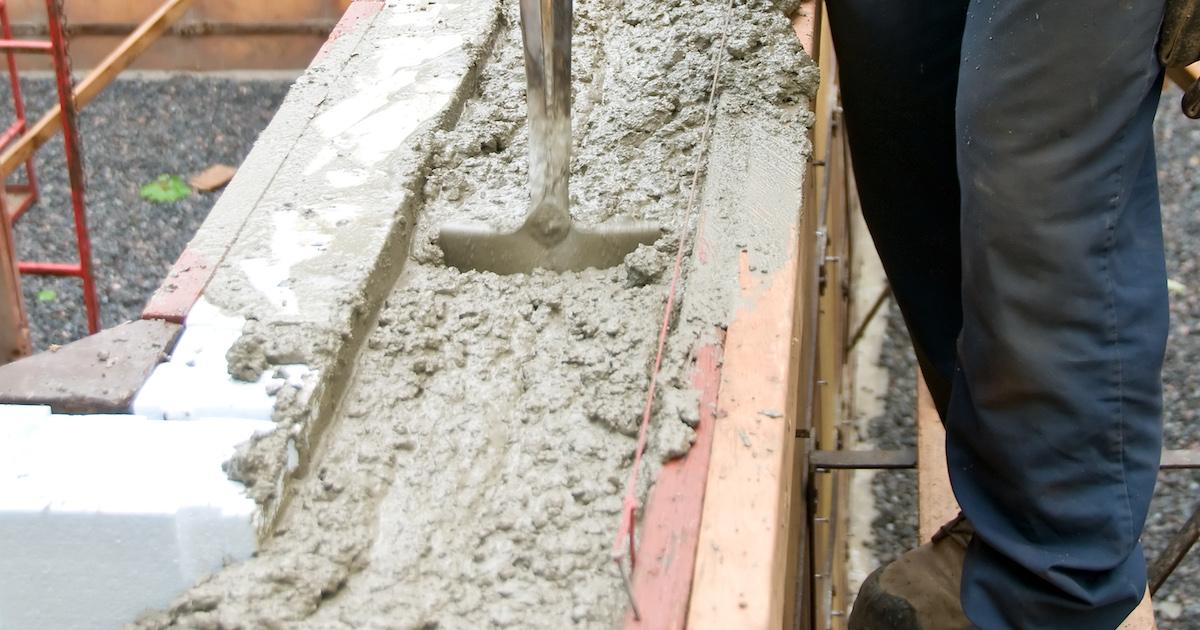
Step 4: Pour the concrete around the interior form.
Add the interior form to the inside of the mold and begin to pour. It’s important to agitate the concrete as you poor to remove all the air bubbles. This prevents pinholes from showing up in the finished product. You can tap the sides of the mold to pop air bubbles as well. Once the mold is full, fill the interior form with rocks, marbles, screws, or some other material to keep it from shifting or floating as the planter dries.
Step 5: Let the concrete dry.
Depending on the concrete, the drying process could take between three and five days. It’s an exercise in patience, but your patience will soon be rewarded.
Step 6: Remove the mold and interior form.
Pour the screws or rocks from the interior mold and begin to pull the mold apart. For plastic molds that have been well-lubricated, the process should be fairly quick. For piecemeal molds like the one featured in the video below, the process could take some time. You’ll have to cut it away piece by piece. The tape will make this somewhat easier.
For larger, wooden molds, the kind that are typically screwed together, you will need to unscrew the sides. Again, these wooden molds are not for beginners and designing one might require some assistance from a professional.
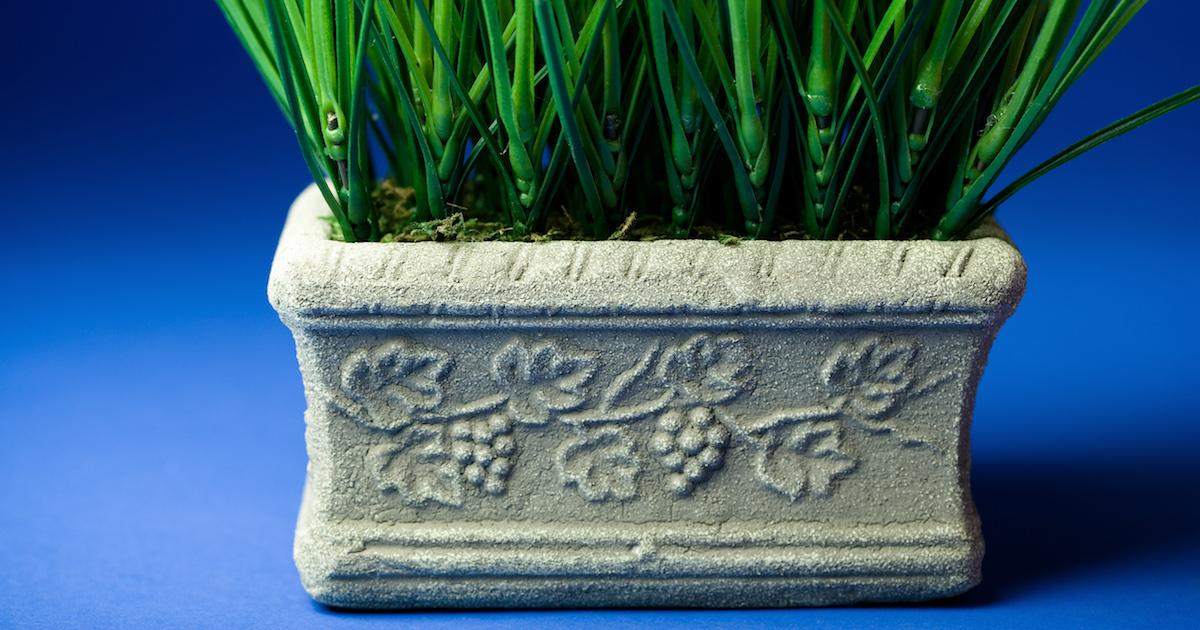
In the end, you should have a beautiful, DIY cement planter that will look great wherever you plan to use it. And even if your first one doesn’t come out perfect, it will still be cheaper and more eco-friendly than a plastic planter from Target.