4 Fun Milk Carton Crafts to Do With Kids
Get inspired and crafty with these ways to upcycle milk cartons!
Updated May 7 2020, 12:07 p.m. ET
Getting crafty by upcycling items that would normally go to waste is always a good (and fun!) idea. But couple that with coronavirus quarantine and most of us have never felt so much like Martha Stewart in our lives.
One such type of craft that is awesome for showing off your #QuarantineCreativity is upcycling used milk carton containers into something new. There are tons of upcycling ideas out there for milk cartons, so no matter what kind of DIY you’re looking for, it’s definitely out there. (Or if not, bring your vision to life and make it a true DIY, without a set of instructions!)
So, until the milkman comes back, leaving glass containers of 2 percent or 1 percent by our front porches each night, the most sustainable thing we can do is upcycle, upcycle, upcycle — and if you have your dairy-free milk in a carton, you can use those, too!
Ready to turn your old milk cartons into something new? Keep reading for 4 milk carton crafts!
Animal Containers
Crafting with kids? They will absolutely love transforming stinky, old milk cartons into new and improved animal containers to house their belongings. These containers can be used to organize magazines or books, school-related paperwork, or even arts and crafts supplies like markers, colored pencils, pens, pencils, scissors, and more.
This idea, adapted from Recycled Crafts, requires milk cartons (duh!), a scalpel (or scissors), and paper glue. You will also need the downloadable animal templates, which are available to save and print at Make n Create.
To make your own milk carton animals at home, print out the downloadable templates and cut them out with a scissor. If you’re working with younger kids, you might want to take the reins on the cutting. Next, rinse out the milk cartons so there is no residual milk in there that could potentially spoil. Once the insides of the milk cartons are dry, fold the prints according to the marks on them. Glue the printout to each milk carton, cutting away the excess paper at the bottom. Using a scalpel, cut off the top of the edge of the carton.
Voila! Now your animal container is ready to keep your little one’s stuff organized.
Birdhouse or Bird Feeder
Are you and your kids more interested in the birds flitting in and out of your backyard now more than ever? (If so, you’re not alone — quarantine really has a way of making a person care about their backyard wildlife!) Give the birdies in your yard some space to nest and thrive by upcycling an old milk carton into some luxurious digs for your new winged tenants.
To make this milk carton birdhouse — inspired by Kinsey Dulaney on Instagram — you will need paint, permanent makers, glue, pieces of cardboard, a scissor (or scalpel), popsicle sticks, and additional arts and crafts supplies with which to decorate the house.
First, make sure to wash out the inside of your milk carton. You don’t want any residual milk sloshing around inside and stinking up the birdhouse. Once the inside is dry, paint the entire milk carton the color of your choice. Wait for the exterior paint to dry before decorating. You can use permanent markers to draw shapes, decorations or even a window, glue on pom-poms, or pipe cleaners. When all the decorations dry, it’s time to make the roof. Glue two square-shaped pieces of cardboard in a “V” shape at the top of the milk carton, on both sides of the milk carton’s cap.
Next, layer popsicle sticks over the cardboard pieces to form a kind of tile for the roof. Using a scissor or scalpel, make a square “door.” This is where the birds will enter to eat the birdseed or lay their eggs. If you’re going to be using this as a bird feeder instead of a birdhouse, reach through the newly made door to fill the inside with some birdseed. The last step is to punch a hole through the milk carton cap and add some string so you can tie the birdhouse (or feeder) from a tree branch. To fasten the string tightly, you can glue it to the inside of the milk carton or just tie it around the nozzle of the carton.
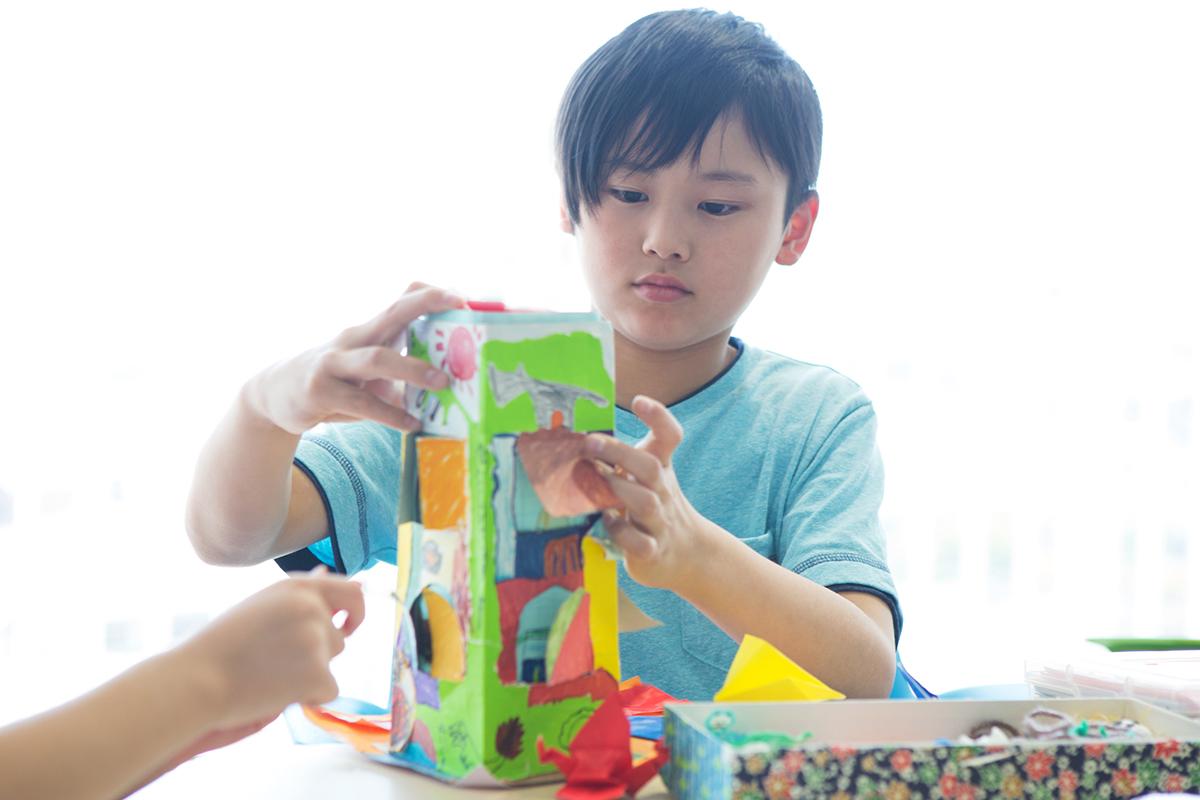
Dollhouses
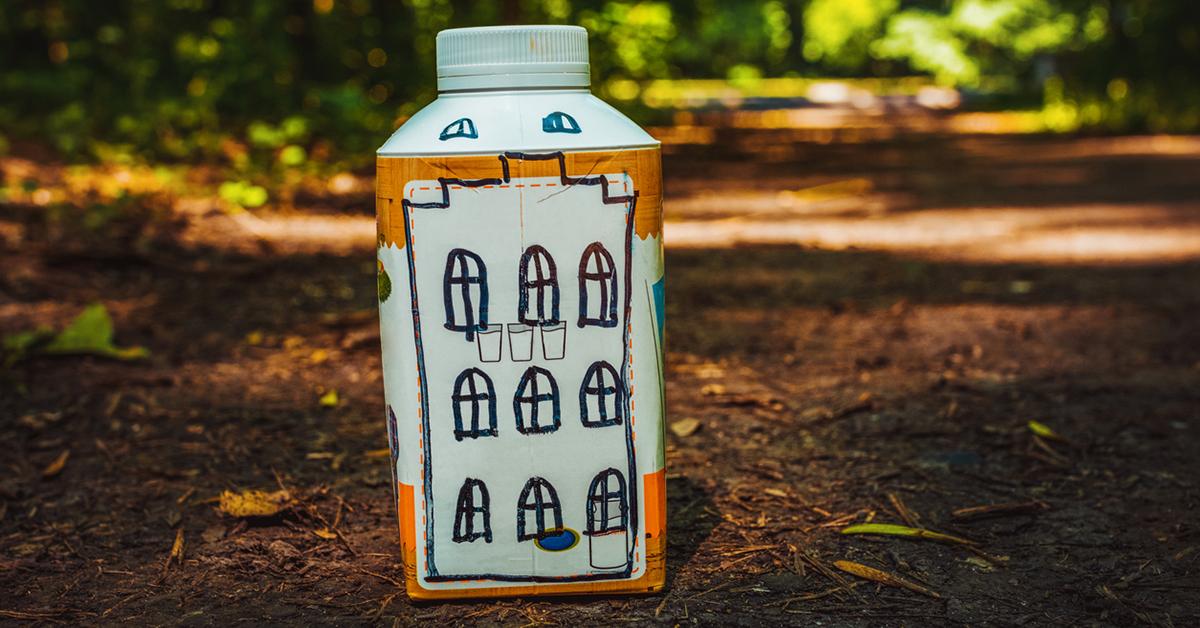
Barbies and L.O.L Surprise! Dolls need somewhere to go and somewhere to live, right? (Side note: Did you know L.O.L Dolls are recyclable? They have their own recycling program with TerraCycle.) Turn old milk cartons into individual houses or, if you have a few to spare, an entire neighborhood!
All you need for this milk carton craft, adapted from Momtastic, is permanent markers, craft paint, and white gesso. To start, make sure your milk or creamer cartons are washed-out and dry. Once they’re dry, start by painting on at least three layers of the white gesso. When that is dry, you can use the craft paint and permanent markers to really make your cartons look like houses. Paint on windows, a door, flower boxes, and whatever else you want; then use the black permanent marker draw on the details: window boxes, shutters, a doorframe, a doorknob, etc.
Now, your kid’s Barbies and L.O.L.s finally have a town to romp around — and a house that is much less expensive than the Barbie Dream House! Feel free to live vicariously through your child’s doll while we’re all staying home! Warning: we are not responsible for any envy you have for the dolls living in your milk cartons.
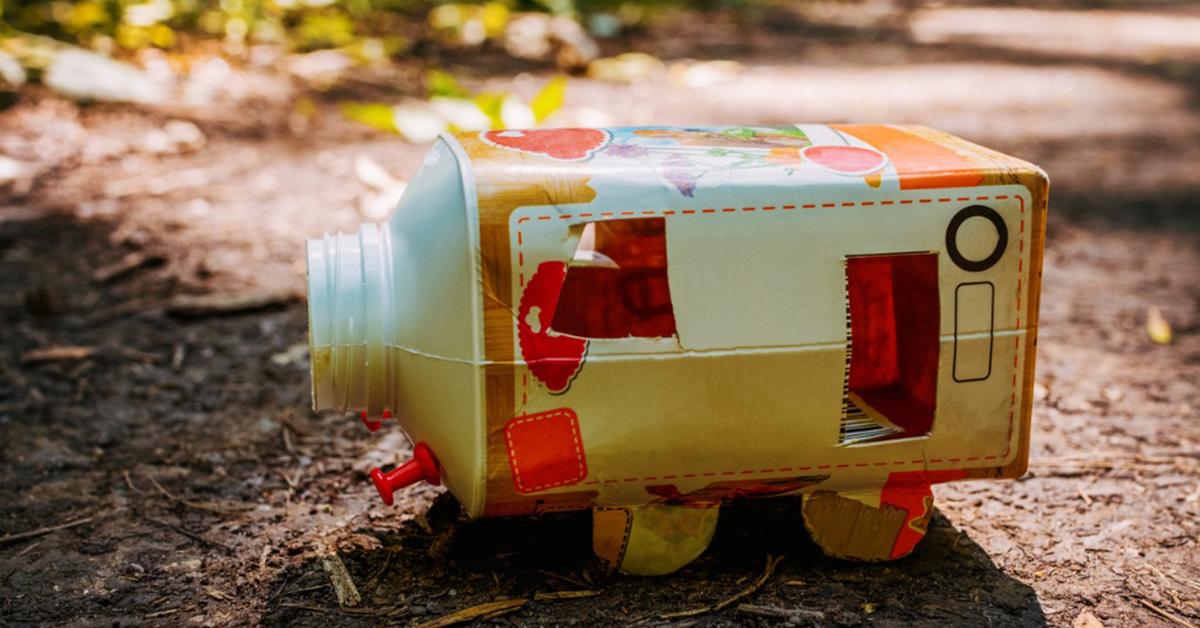
Elephant Lanterns
Have you ever noticed that a traditional gallon of milk looks a lot like the shape of an elephant? No? Then it’s time for you to get more creative ASAP!
As usual, start by cleaning out the inside of your milk carton. Once it’s dry, you can get to cutting. For this elephant lantern craft adapted from Sun Hats and Wellie Boots, you will need a scissor (or scalpel), papier-mâché materials, a paint brush, and googly eyes.
Cut the milk bottle in half and use the top section for the elephant’s body. Take a little less than an inch, using a scissor or scalpel, from the handle of the carton. This part should be a little bit shorter than the rest of the pieces, which are the elephant’s legs. This shorter piece? That’s the elephant’s trunk.
Now, decorate your elephant’s body with the papier-mâché materials. If you’ve never done papier-mâché before, you basically have to paint a layer of PVA glue all over the body, then add small pieces of colored tissue paper. When the whole body has been covered in tissue paper, paint on one more layer of PVA glue, then let it dry. Once it’s dry, glue on the googly eyes and your milk carton elephant is good to go.
The best way to prevent contracting or spreading coronavirus is with thorough hand washing and social distancing. If you feel you may be experiencing symptoms of coronavirus, which include persistent cough (usually dry), fever, shortness of breath, and fatigue, please call your doctor before going to get tested. For comprehensive resources and updates, visit the CDC website. If you are experiencing anxiety about the virus, seek out mental health support from your provider or visit NAMI.org.