Open Your Minds (And Fridges) to Sustainable Kitchen Scrap Gardening
Updated April 21 2020, 11:21 a.m. ET

Let’s face it: In homes around the world, the coronavirus has changed the way we do and think about things. Both inside and outside these four walls, we can only expect these shifts to continue as we start to re-enter a post-COVID world.
But why not use all of this extra time and togetherness at home for the greater good? It’s a rare chance to stop, rethink our habits, and consider their impact on the world. One great way of doing this is taking a look at your at-home food waste.
We’re all thinking about groceries more than we ever have. Why? Because there are scarcities and shortages where they didn’t exist before, and we don’t have the same freedom to come and go to the markets.
Luckily, there’s a very simple way to use what you already have at home to avoid extra grocery store trips and food waste: It’s called kitchen scrap gardening. And if you don’t have a green thumb, don’t worry! It’s not required. Hear us out.
Anyone can get into kitchen scrap gardening.
And we do mean anyone. The great thing about kitchen scrap gardening is that it’s suitable for all ages and gardening skill levels (or, you know...lack thereof. We’re not here to judge).
It’s even great for kids. And after weeks of quarantine life and social distancing, every family-friendly activity is welcome. Bonus points because this one doubles as a science, nature, and sustainability lesson — all in one! In fact, many schools incorporate scrap gardening into science class in general.
Here’s how it works: Many or most of our food scraps get tossed right into the trash (or, compost!) without a second thought, but there’s actually a lot of life left in those discarded parts. From fruits to veggies and seeds to sprouts, we’re here to show you how to breathe new life into what’s typically seen as trash.
So how do you grow vegetables from scraps?
Leave it to the Farmer’s Almanac to show us the way when it comes to re-growing veggies at home.
Got some extra green onions? Take the root side that you usually cut off, and toss in some potting soil instead with the roots facing down. Place the pot in a sunny spot, and in just a little more than two weeks, you could have tall enough, new scallions to enjoy.
Ginger and garlic are also easy to grow with a spare clove or scrap of root. Plant the garlic clove side up, and the ginger root side down. The garlic can survive outside, or let it enjoy a sunny indoor spot (which is also your best bet for the ginger, which prefers it inside).
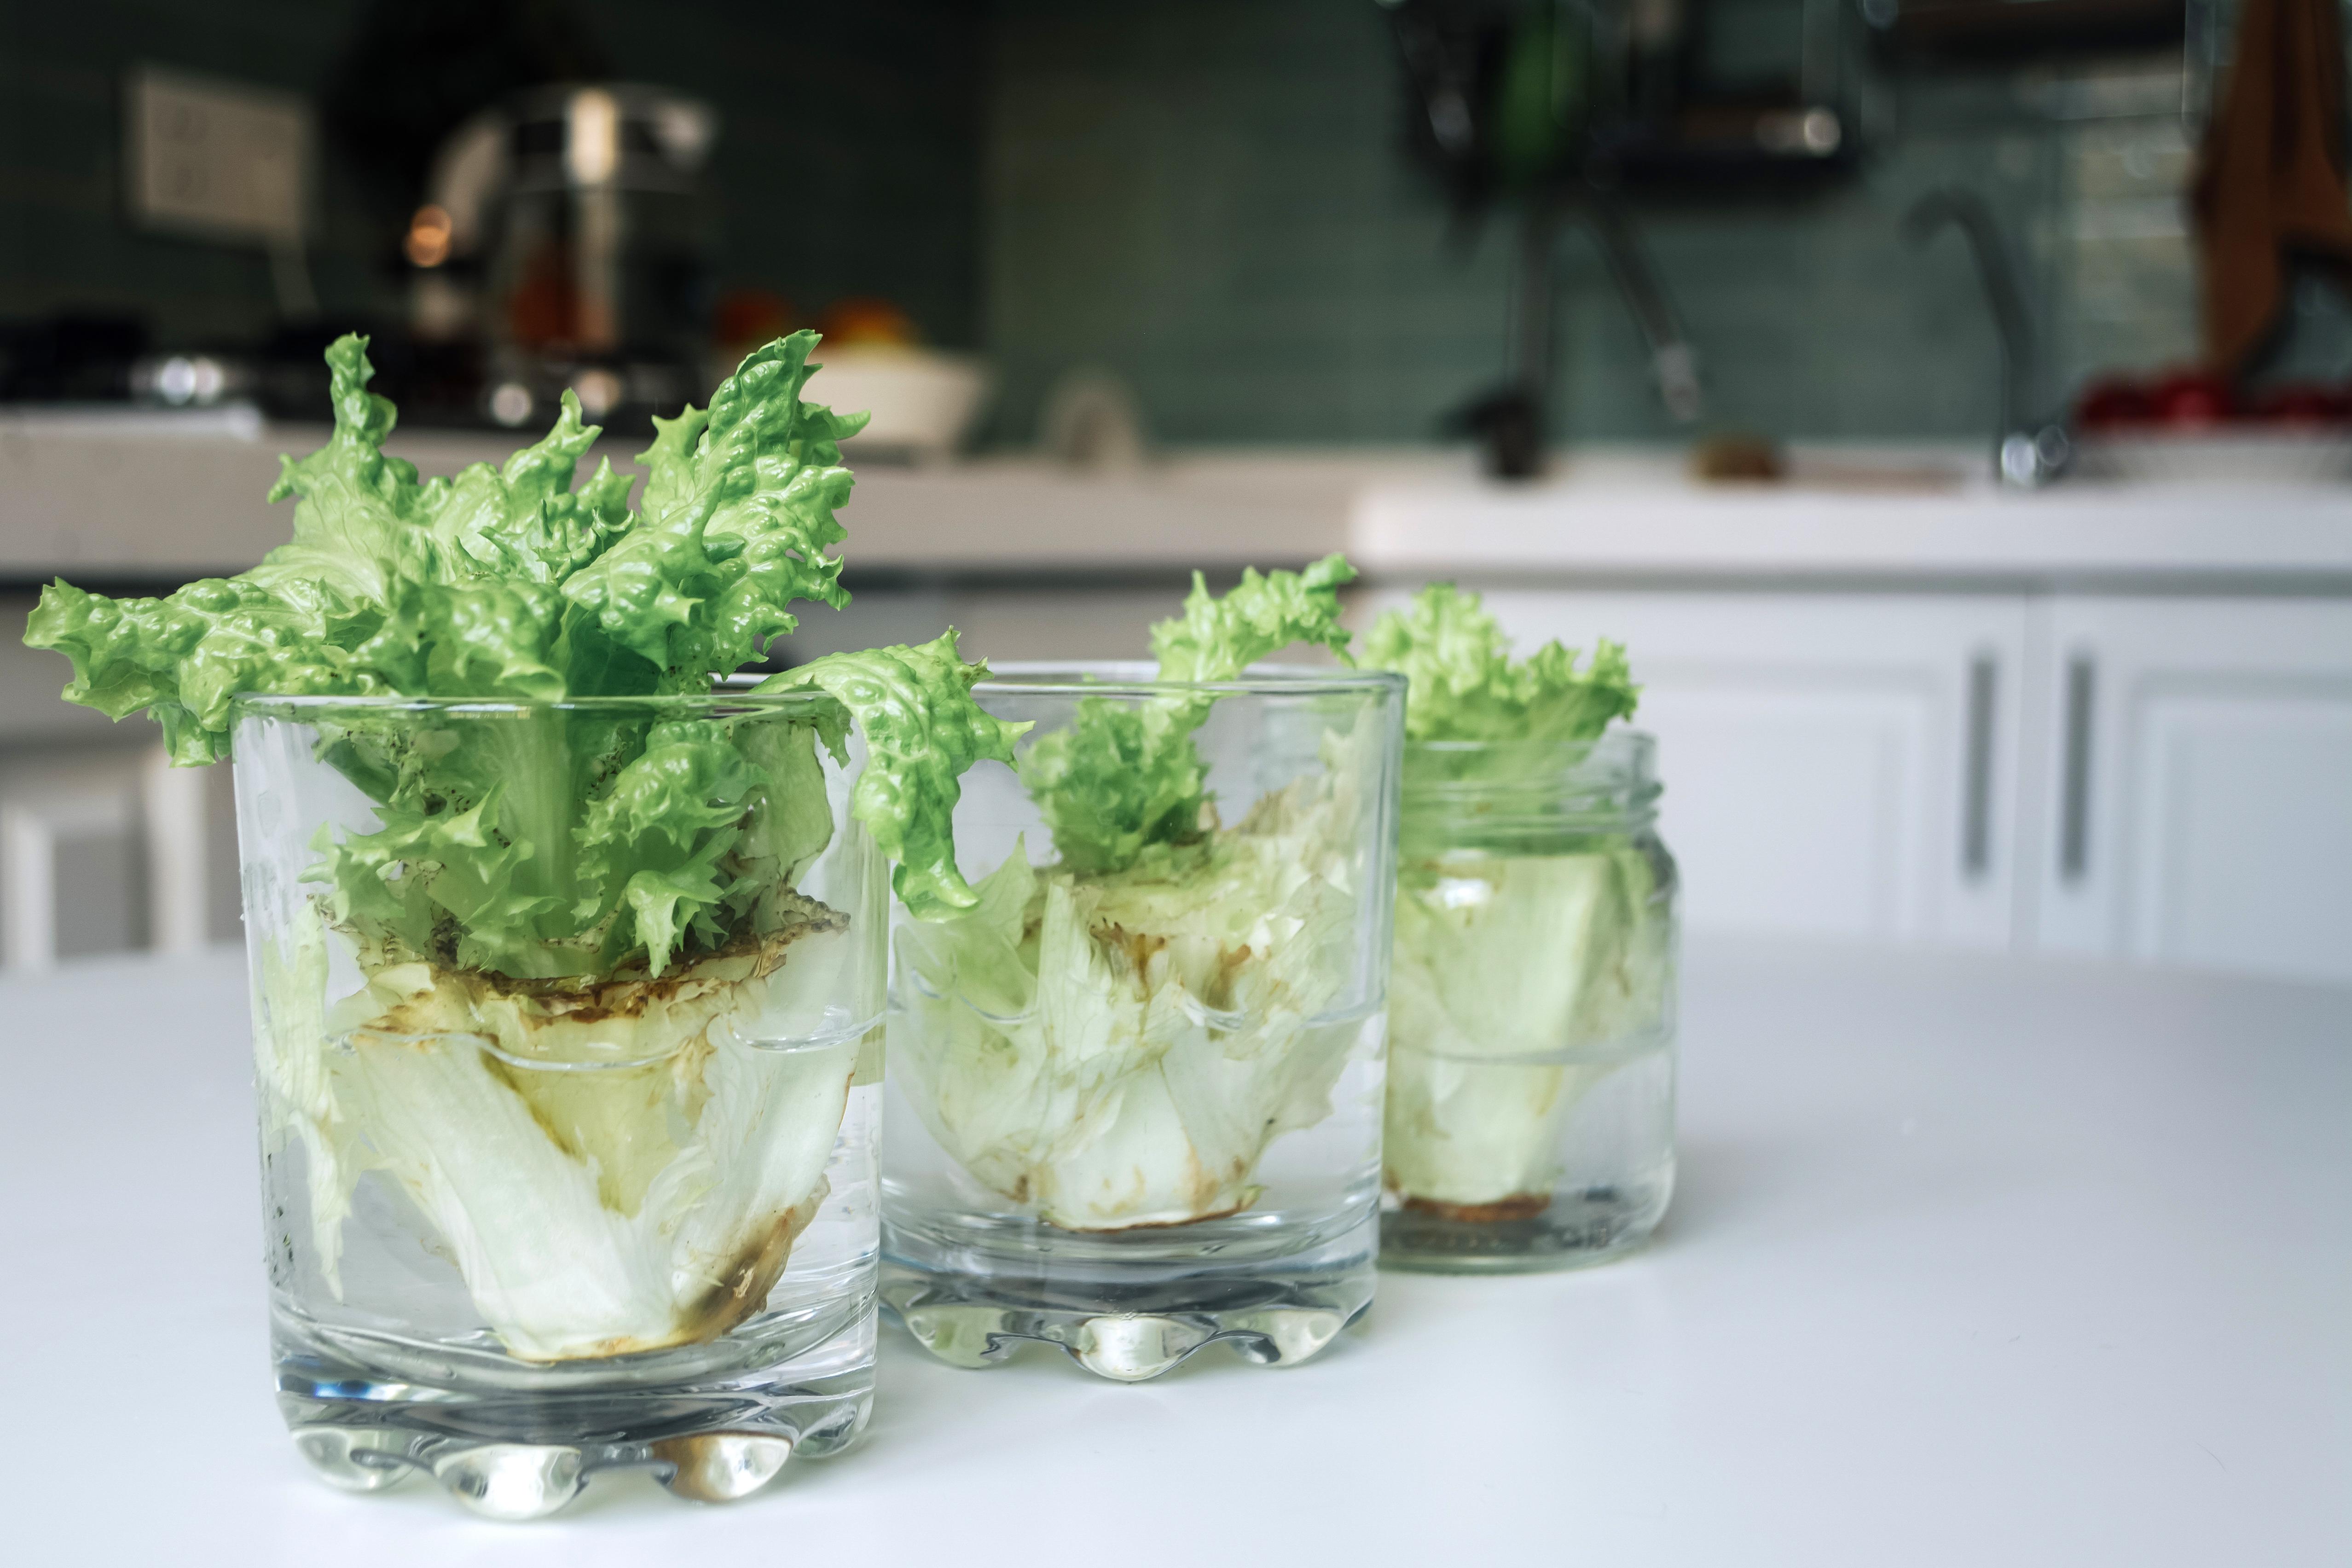
Some veggies can be regrown by just adding water.
Celery stalks, carrots, and romaine are treated similarly in kitchen scrap gardening. They can be chopped two inches from the bottom, placed into shallow water (without submerging), and left to grow roots on the bottom and new leaves on top.
Once they do, you can plant them in a pot, leaving just the leaves exposed. Then sit back and watch your new greens grow from your old!
What about regrowing fruits and veggies from seeds?
Seeds are a great way to propagate and re-purpose the fruits and veggies you have at home. According to This Old House, citrus seeds are some of the easiest to plant and grow. All it takes is letting your lemons, limes, or orange seeds dry out before placing them in some potting soil and letting the magic happen.
Apple seeds can be extracted, let dry, then packed in peat moss, put in a plastic bag, and placed in the fridge. It takes about 12 weeks for them to do their thing in there, and then you can put ‘em in some potting mix. It takes a while, but in time, a small tree will grow from the seeds you would have discarded, and it can be planted outside.
Avocado fans, rejoice! The pit is technically the avocado’s seed, and it can be regrown right from it. You can use toothpicks to balance the pit (root side down) in water. Change the water every day or two.
In three to six weeks, you should be able to see the top of the pit splitting open. This is a good sign! It means that in a few more weeks, you’ll see leaves and roots will begin to grow. You can plant your avocado tree when it reaches seven or eight inches tall.
Here's your homegrown cheat sheet.
For a quick look at what you can easily grow from your food scraps (and how), here's a quick-hit list for easy reference. It includes some of what we've covered here in more depth, and some fun, new, and simple DIY growing ideas as well:
- Celery: Celery sprouts in water. Chop the celery stalks about two inches from the bottom and let it hang out in shallow water, without submerging it. Wait for it to grow roots on the bottom and new leaves on top before planting. In about three weeks, you should be able to pot it and expect fast growth.
- Carrots: Place carrot tops in shallow water, changing it every day or so. In a few days, shoots will start to form, and your carrots-in-the-making are ready to be potted.
- Lettuce: Similar to its celery and carrot counterparts, if you chop the base of romaine or butter lettuce and let it soak in water, you will see roots start to form in a matter of a few short weeks.
- Avocados: It's all about keeping the top of the pit dry while the bottom gets water. Allow this to happen in a warm, sunny spot, and you should expect to see roots between two and six weeks.
- Potatoes: Potatoes are simple to regrow, since you just cut one in half, let it dry completely, and put it in some potting soil.
- Onions: Another simple regrowing option, if you place an onion bottom directly into soil (or the ground), it will start to regenerate its roots.
- Pineapples: Cut the base of the leaves so the roots are visible, remove some of the leaves, and submerge the stem in a few inches of water. Change the water every day or two, and once the roots start to grow, replant your pineapple. Expect to wait about six months for a full pineapple.
- Apples: Take some apple seeds and let them dry completely, then pack them in peat moss and put them in the fridge. From there, they can be planted for a small tree to start to form in time.
- Lemons and limes: Using spare seeds, dry them out completely, place them in some potting soil and let them do their thing.
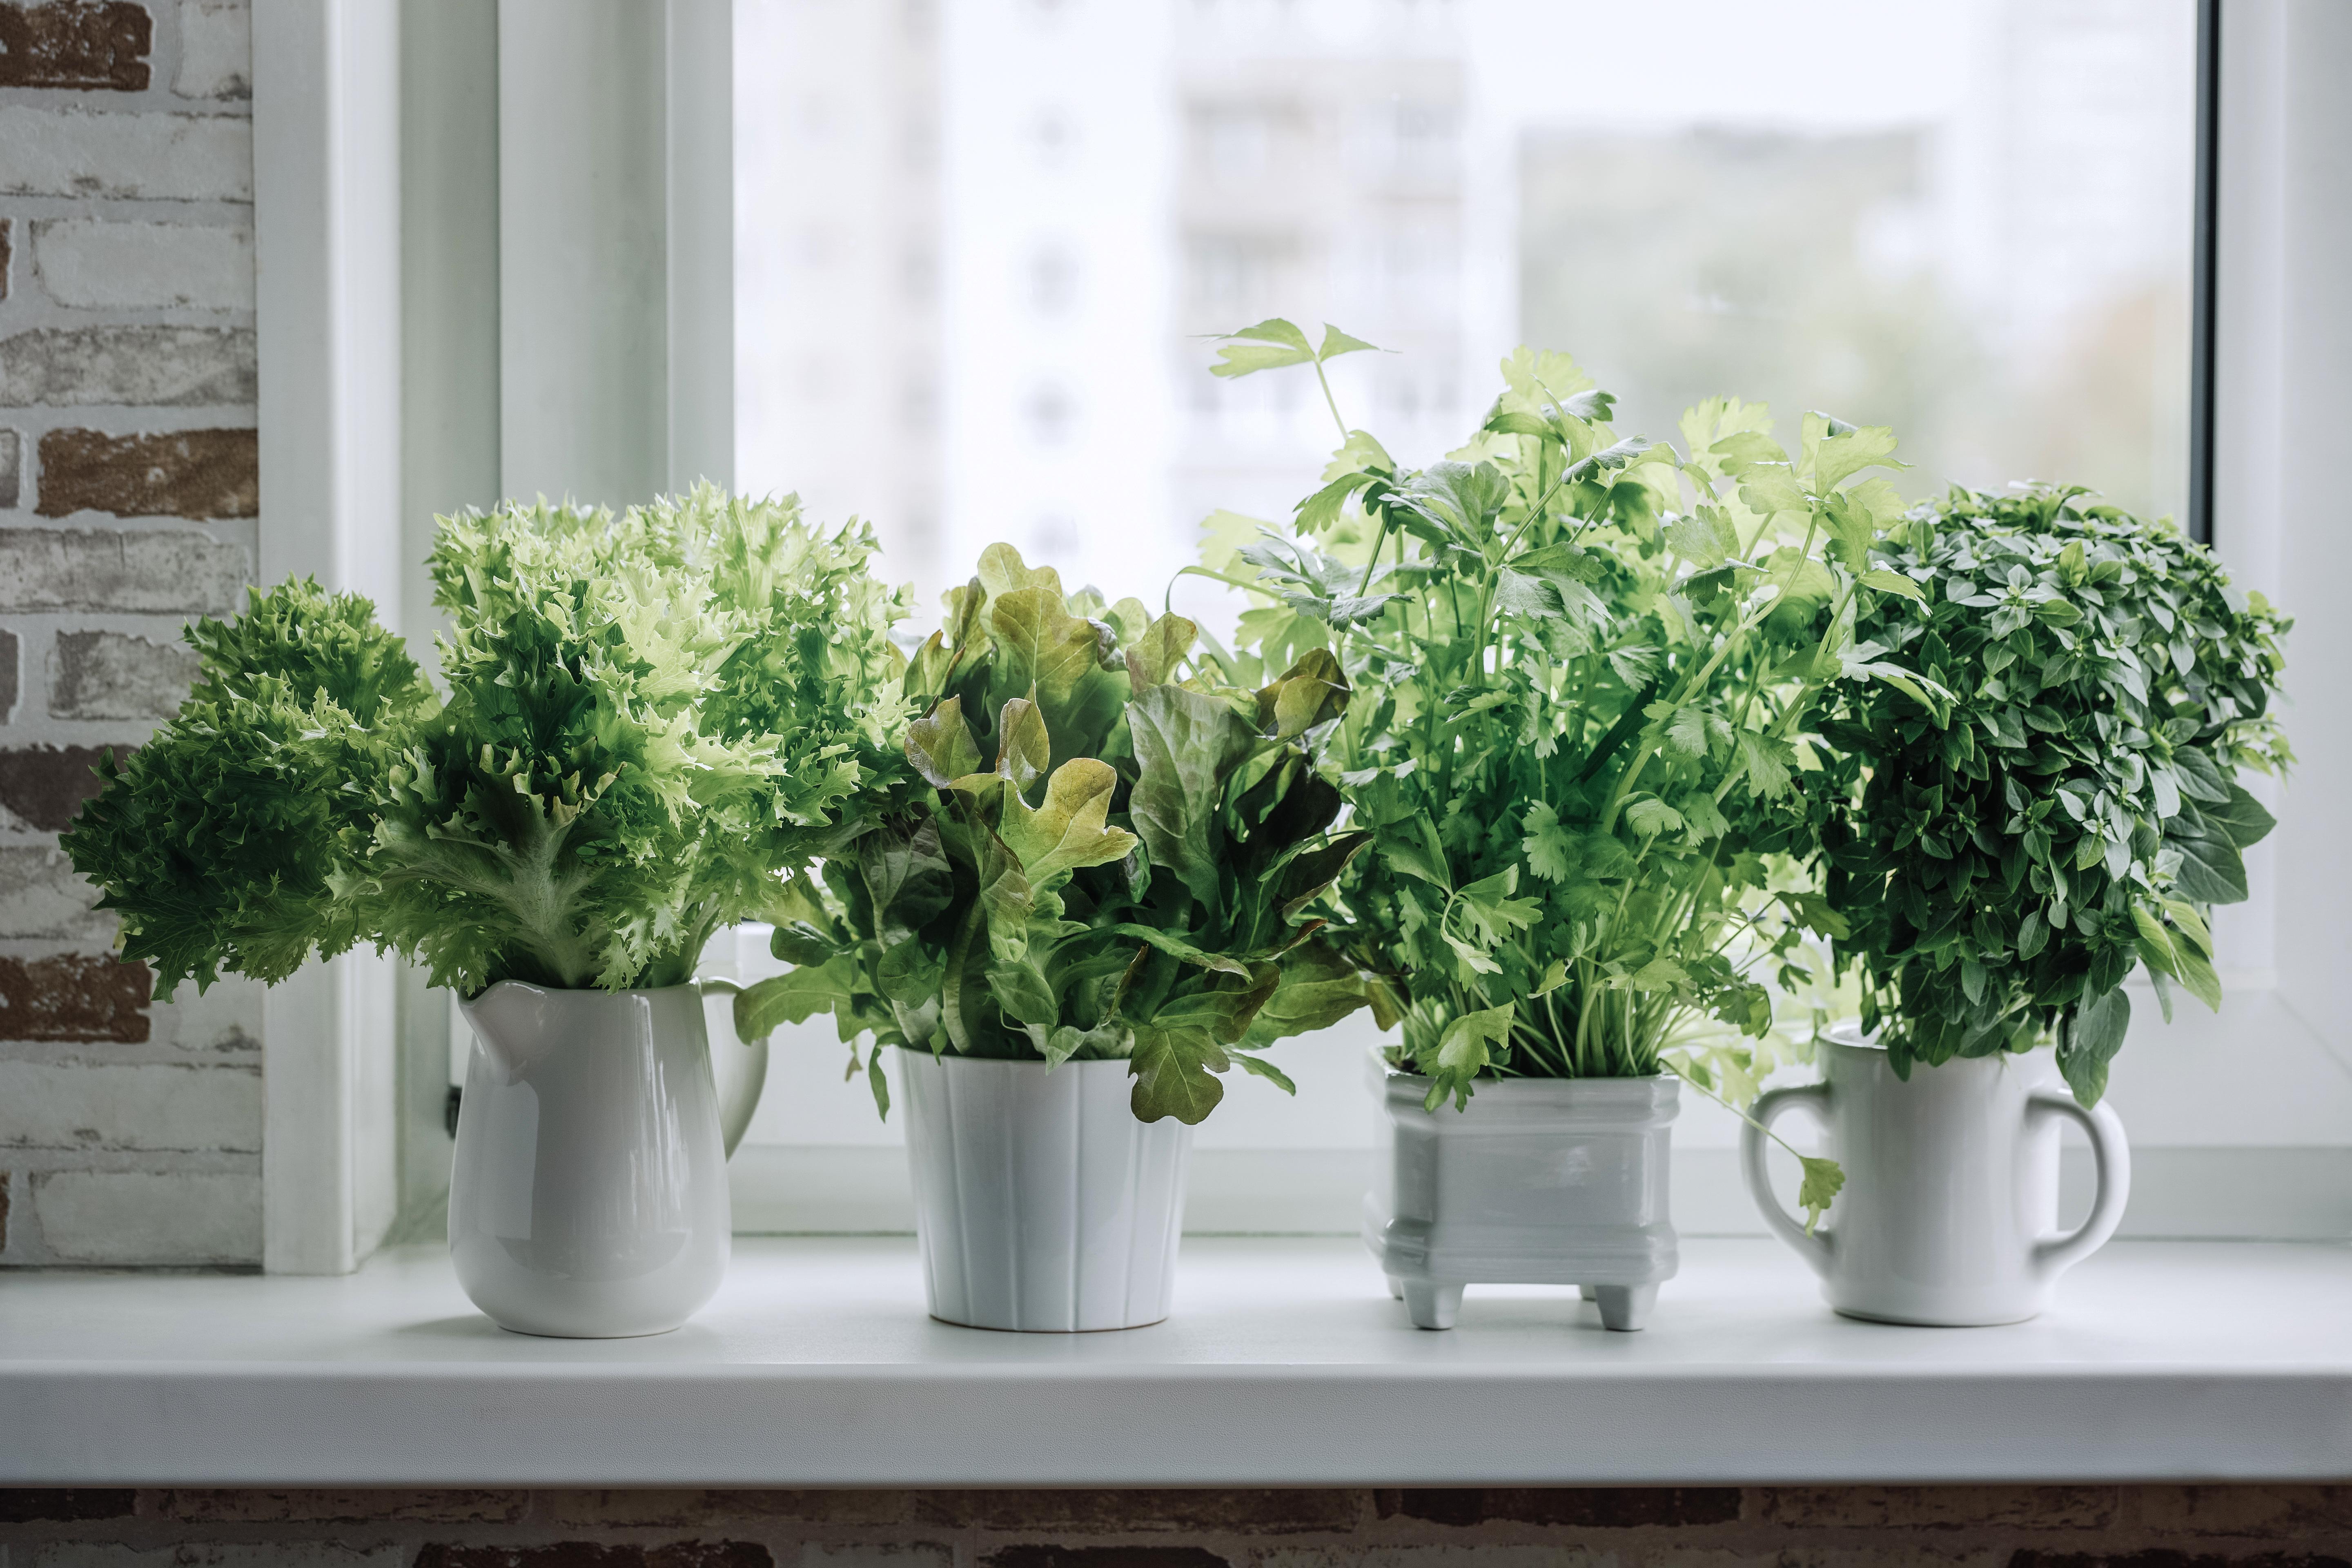
- Herbs (like basil, cilantro, and mint): Place the stems in a glass of water, keeping the leaves well above water-level, and watch the roots start to grow. Once they do, they can be potted or planted outside.
There’s no end to your options.
We’ve given you the scoop on salvaging some of the favorite or most common produce items, but this is by no means an exhaustive list. From onions and mushrooms to herbs, beets, potatoes, and beyond, you name it, and it’s probably pretty darn easy to get growin’ in your own kitchen.
So go ahead. Open your mind (and your fridge) and see what you can recycle and re-enjoy when it comes to fresh produce in your own home.
This article is part of Green Matters’ 2020 Earth Day campaign, #HomeSweetEarth, which aims to remind readers that the one thing we all have in common during this hectic time is our home: our shared home, planet Earth. We hope our stories this week will inspire you to connect with and honor the Earth during the pandemic — and beyond.