How To Create An Upcycled Vase With Nontoxic Paints
This simple DIY tutorial just requires an old wine bottle, tape, and paint.
Updated May 24 2019, 8:48 p.m. ET

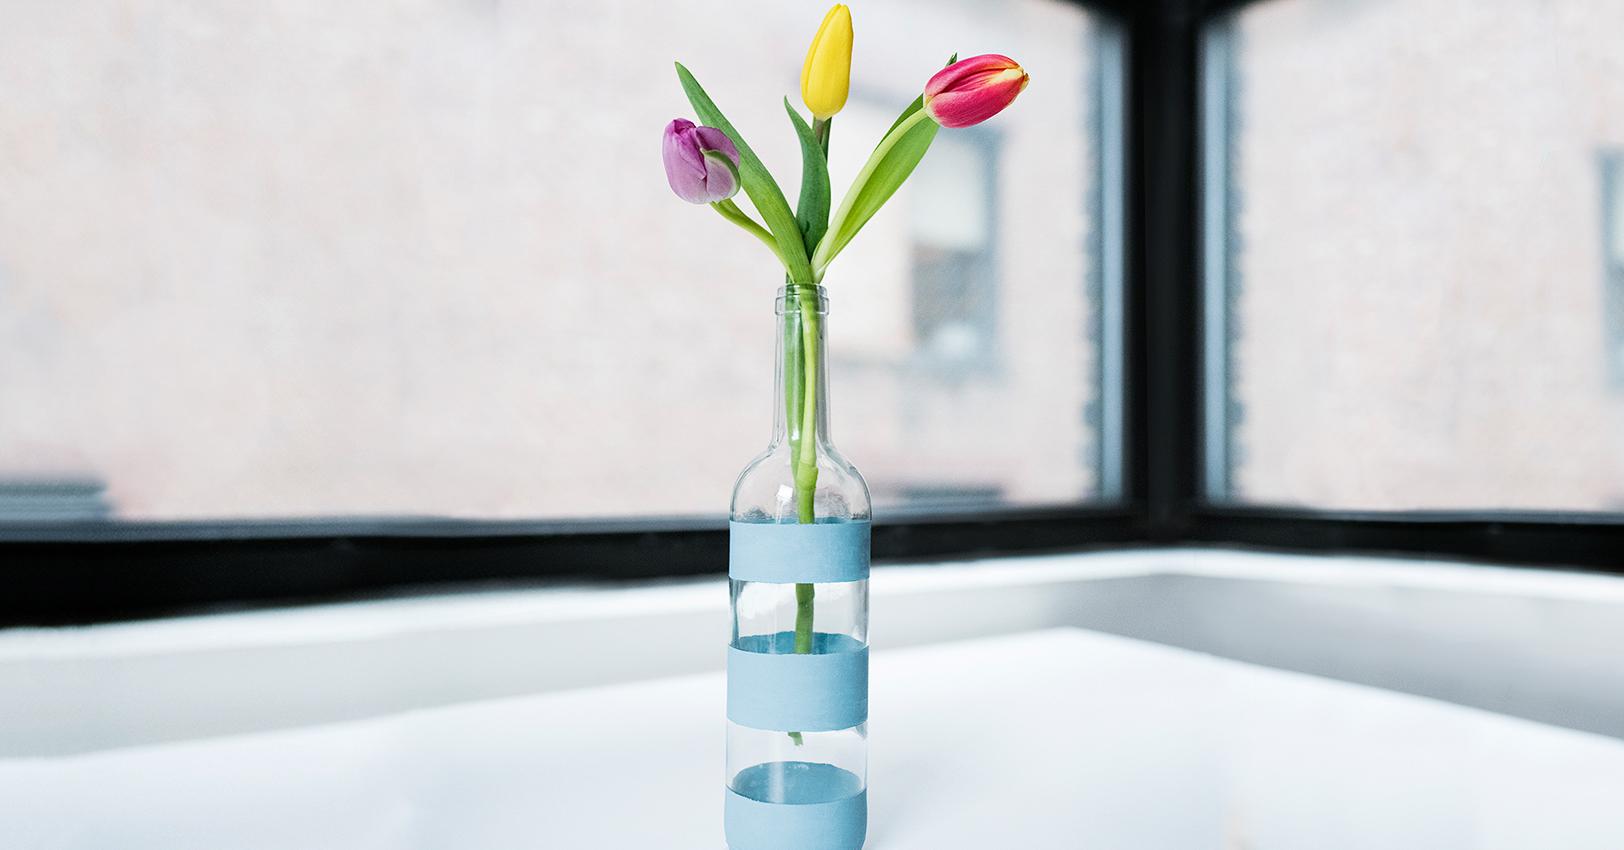
Next Tuesday marks the first day of spring, and what’s spring without fresh flowers? To help you display tulips and lilies in your home, we put together an easy DIY project that upcycles a used wine bottle into a pretty painted vase.
But before you bust out the brushes, let’s talk about paints, because it’s very easy to buy art supplies that are harsh on the environment and your own health.
When you’re shopping for paints, keep an eye out for a few labels. The most important one is a circular symbol that says “Conforms to ASTM D 4236.” This indicates a toxicologist has evaluated the contents for any health hazards. If the seal has “AP” in the middle, that means it’s nontoxic. If there’s a “CL” in the middle, the product contains toxic materials, but is safe for adults to use (as long as you follow proper precautions).
Under federal law, all art materials sold in America must undergo this toxicological evaluation. So if you pick up a bottle that doesn’t have the ASTM D 4236 label, put it back on the shelf.
Another one you might see is a square reading “CA Prop 65.” This label is required by the state of California, and indicates the product contains chemicals proven to cause birth defects, cancer, or other reproductive harm. CA Prop 65 is a pretty common symbol on spray paints. Art supplies with this warning may only contain trace amounts of the toxins, but any product with those chemicals gets the label.
For this project, we’ll be using nontoxic, water-based acrylic paints. Acrylics are completely safe, easy to clean up, and available at any art supplies or crafting store. Ready to get started?
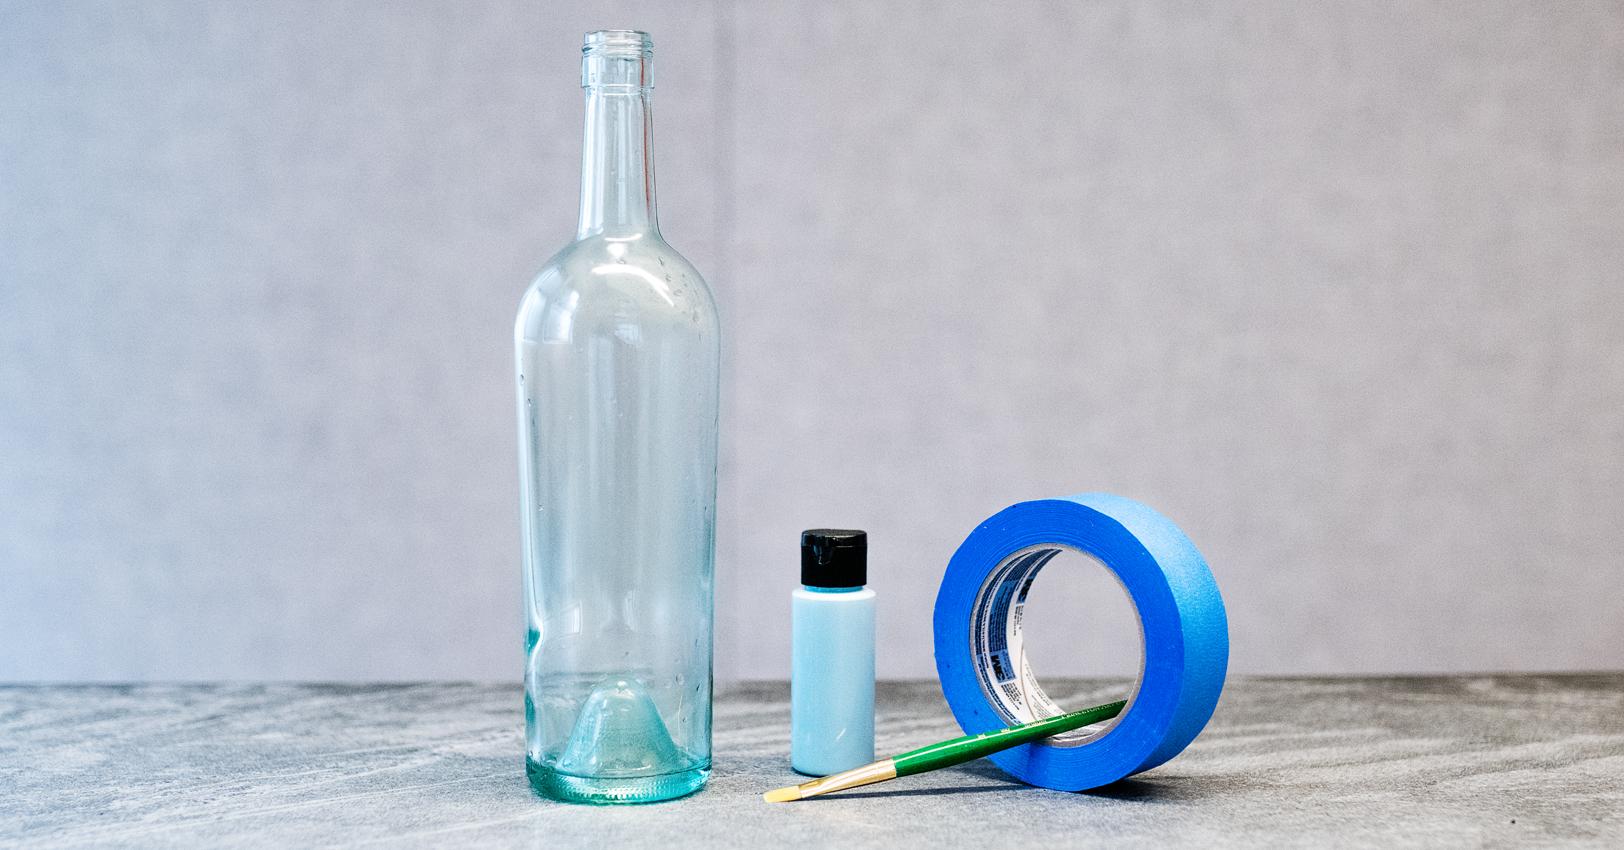
What You'll Need
An empty wine bottle, painters tape, a paint brush, and a pastel acrylic paint (we used Blick Matte Blue Light).
Step 1
Rinse out the inside of the wine bottle with soap and water. Then, peel off the labels. If you have any lingering residue, scrub it off with a sponge or a swab of rubbing alcohol. After all the sticky stuff is removed, wash the exterior of the bottle with soap and water and dry it with a towel.
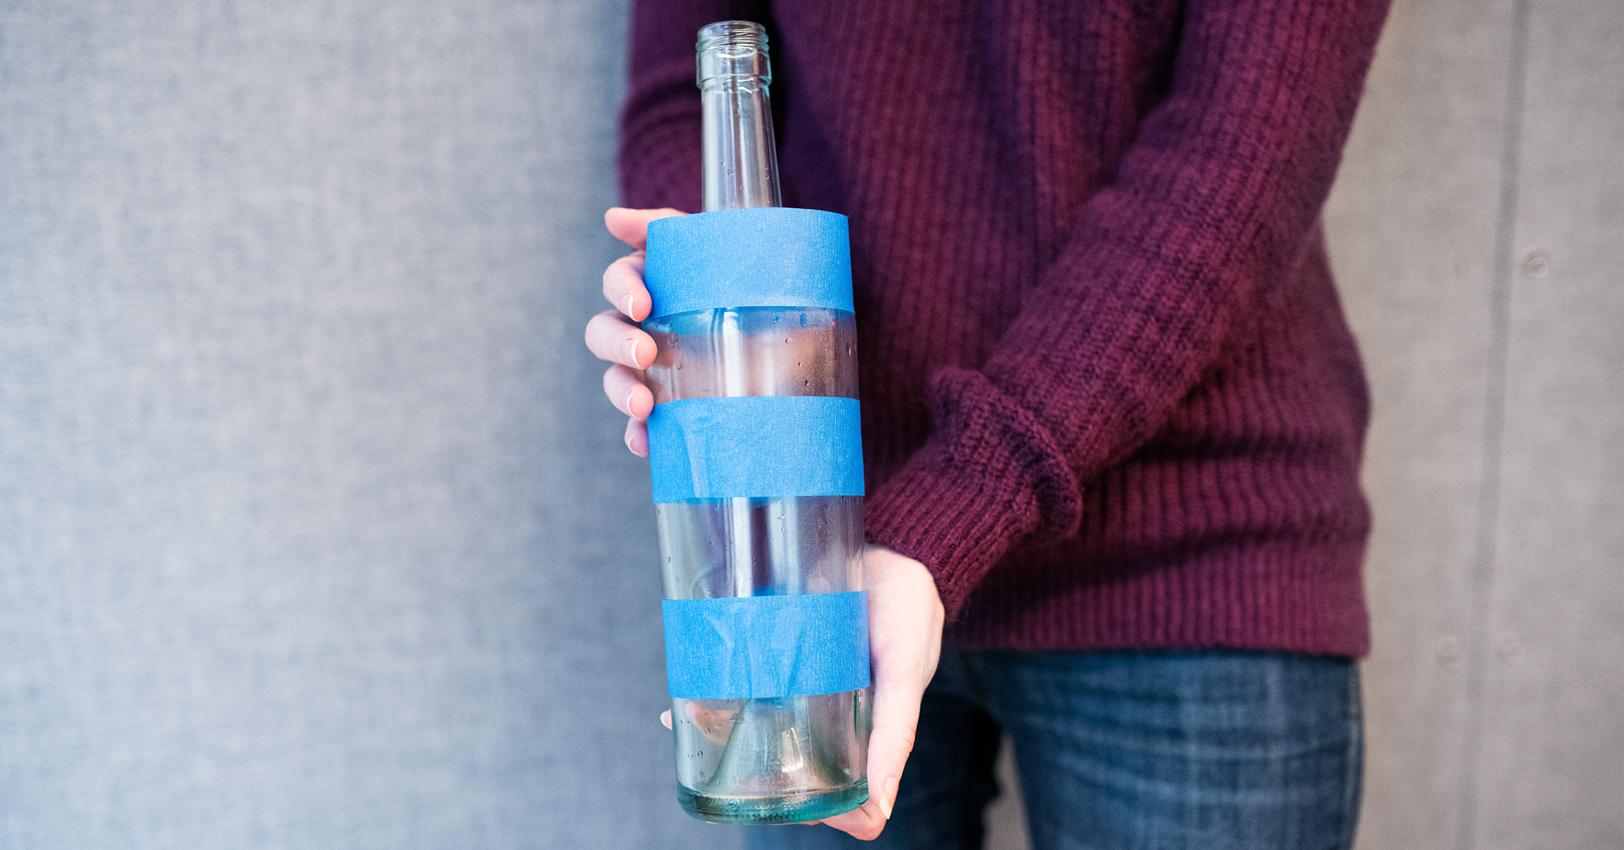
Step 2
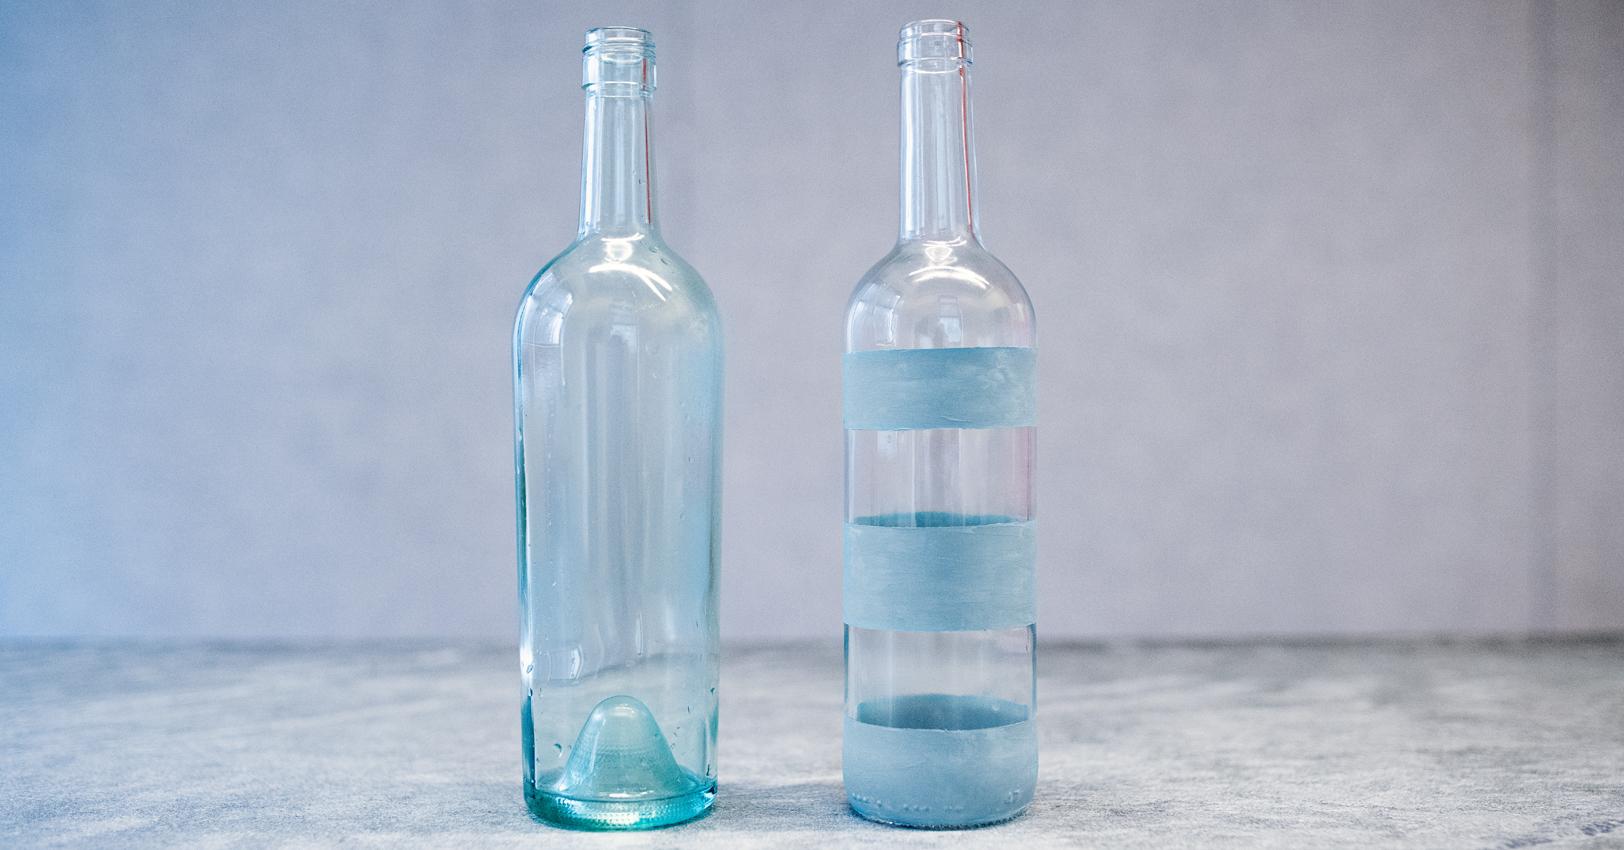
Decide on a pattern. Do you want horizontal stripes? Vertical ones? Just one band in the middle? Once you have a design in mind, tear off pieces of painters tape and place them over the parts of the bottle you want to protect from paint.
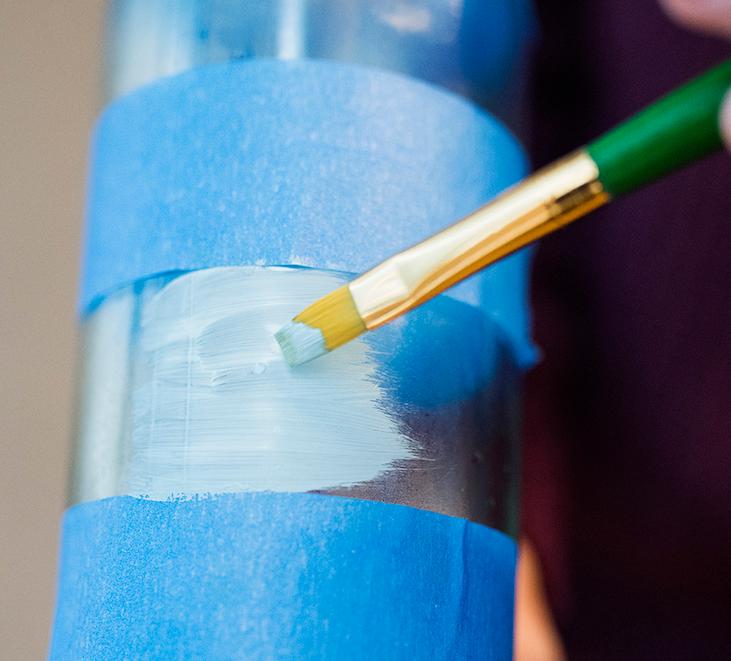
Step 3
Paint. You should apply at least two coats, but give the first one a few minutes to dry before you reapply.
Step 4
Scan the bottle for any smudges or areas you need to touch up. The great thing about water-based paint is you can easily wipe off any mistakes you made with a damp cloth. After you’ve made your adjustments, set the bottle back down to dry.
Step 5
Remove the tape. Give the bottle another once-over, checking for any splotches or breaks in the lines.
Step 6
Wait. The only drawback to acrylics is they take a long time to dry. Although the paint becomes dry to the touch pretty quickly, it can take 3-4 weeks to completely dry, or “cure.” (Here’s a helpful explanation of the distinction.) Before that window has passed, the paint can be washed off with water. So don't touch it! Keep the bottle in a safe spot where it won’t get knocked over or smudged as it dries.
Step 7
Use your new vase. After the waiting period has passed, the bottle should be water resistant and ready for flowers. If you’d like to give it a final flourish, tie a piece of ribbon or twine around the neck.