The Easiest Homemade Snacks That Won't Break The Bank
Children love snacks, but running to the store can get time consuming and expensive. Luckily, it's easy to make healthy, kid-friendly snacks right in your own kitchen, including crackers, dips, granola, and even gummy candies.
Updated May 17 2019, 12:48 p.m. ET

We all want our kids to eat natural, healthy, and nutritious food. Unfortunately for many of us, buying all organic, all the time isn’t financially possible. However, we can do the best we can with what we have, and preparing food at home can definitely get you a better value when it comes to meals and snacks. Once you have the appropriate ingredients on hand, it can also make providing easy snacks for your kids and families a breeze.
The good news is that our favorite brands aren't the only one who can make nutritious snacks. You can make them, too, right in your own kitchen. There are a ton of good-for--them snacks you can make for your kids, using ingredients you trust, and save a few bucks in the process. A Google search for “homemade organic snacks” will give you literally millions of hits, so before you dive in and get overwhelmed, it's useful to check out some base recipes for snacks that are easily customized to your family's preferences.
Cheese crackers
If there was ever a perfect snack, it’s the humble cheese cracker. Whether it’s shaped like an animal or a square, thousands of handfuls of these are gobbled down by children every single day. If the alarming orange color or high sodium listed on the packaged version troubles you, you’re in luck! These handy snacks are super easy to make at home.
That’s right: Big brands aren't the only one who can make a tasty cheese cracker. This recipe, from Momables, is a great way to provide nutritious snacks that aren’t suspiciously orange. This recipe serves 3-4 cups, depending on size, and is super kid-friendly!
Ingredients
Directions
Vegetable dips
I’ve never met a kid who didn’t go bananas over dip. Any dip. If there is something you can stick food into and then eat it, it’s a winner. These super tasty dips from The Lean Green Bean go one step beyond everyone’s favorite store bought hummus. Why not mix it up a bit and try something new?
Pumpkin Black Bean Dip
Combine 1/2 cup pumpkin + 1/2 cup black beans + 1/4 cup peanut butter in a food processor.
Puree until smooth.
Squash Yogurt Dip
Combine 2/3 cup roasted squash + 1/3 cup plain or vanilla yogurt + 1/4 tsp cinnamon.
Puree until smooth.
Optional: Add some hemp seeds. Use plain yogurt and add a dash of maple syrup.
Avocado Pea Dip
Combine 2/3 cup avocado + 2/3 cup cooked green peas + 1 cup canned pears/pineapples.
Puree until smooth.
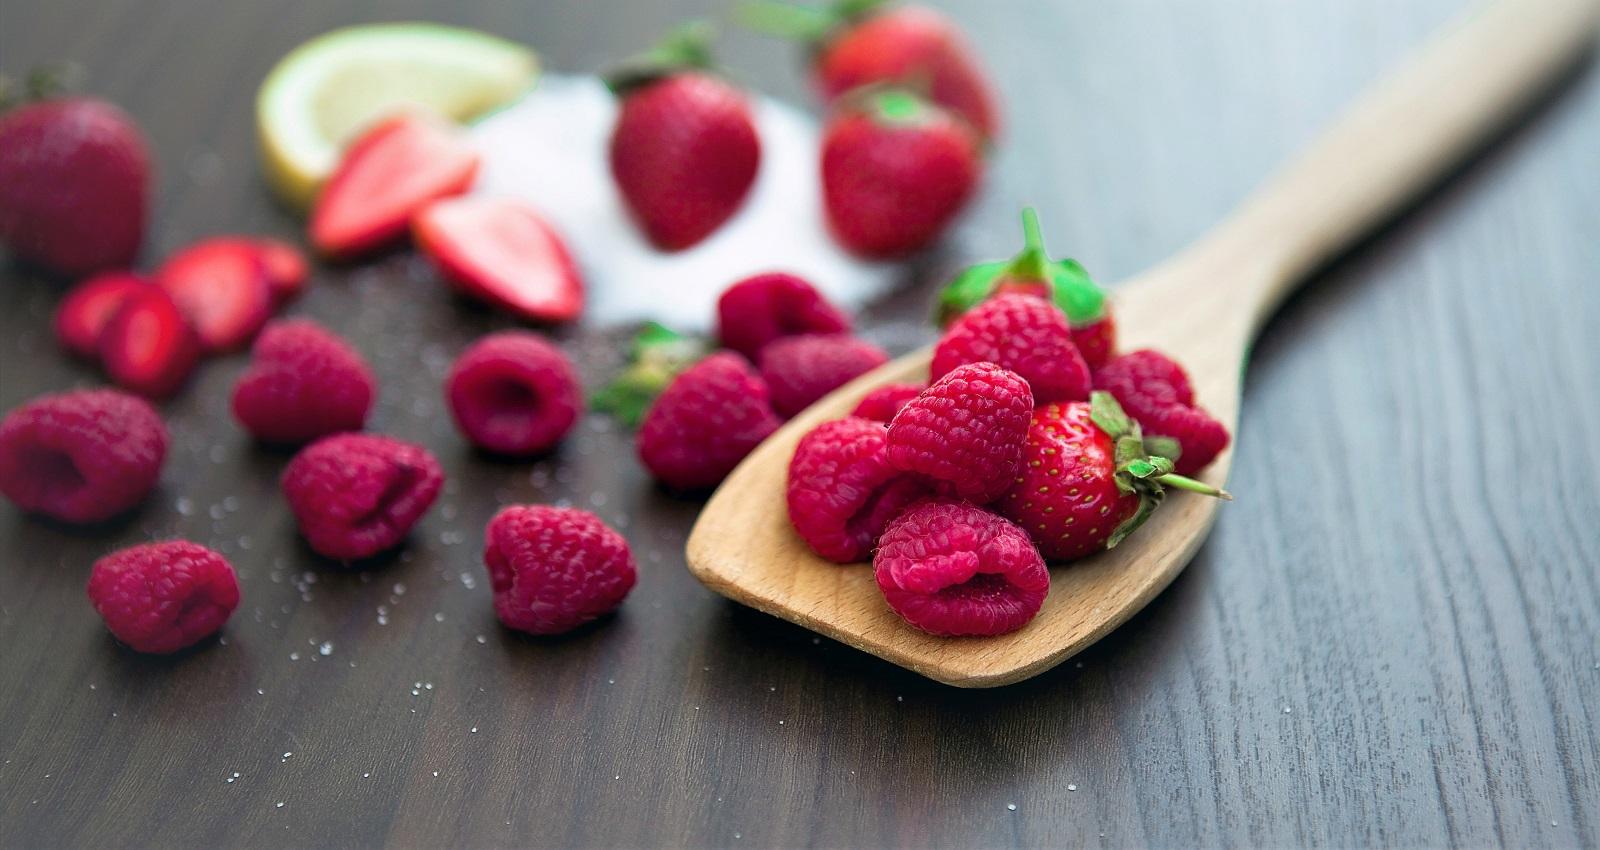
Raspberry Cottage Cheese Dip
Combine 1/2 cup white beans + 2/3 cup cottage cheese + 2/3 cup raspberries.
Puree until smooth.
Gummy candies
There is no snack my children ask for more than gummies. They’re close enough to candy that kids think they’re getting one over on their parents, and close enough to healthy that parents don’t have the guilt that comes along with most other sweets. These gummies from Creative and Fun Healthy Food are the best of both worlds, and definitely kid-approved.
Ingredients
Directions
Granola bars
There are certain snacks that will always bring childhood memories rushing back. Granola bars are at the top of the list of nostalgia foods for most of us. You know the ones: super sticky, with those tiny chocolate chips. In hindsight, not the healthiest snack, but luckily, they’re a cinch to make at home with healthier ingredients and all the same sticky goodness we grew up with. This recipe from Daily Mom brings all the flavor with none of the questionable ingredients! Win-win.
Ingredients
Directions
1. Preheat the oven to 350. While the oven is preheating, line an 8×8 baking pan with tin foil. Lightly spray the foil with non-stick cooking spray.
2. Spread the oats on a cookie sheet and bake for 8-10 minutes (until they are lightly toasted). Then transfer them to a bowl.
3. While the oats are baking, combine the honey, coconut oil, brown sugar and vanilla in a small saucepan. Heat the mixture until it’s liquid and the sugar has melted completely.
4. Pour the heated mixture into the bowl with the toasted oats and stir to combine.
5. Let the mixture cool for 3-4 minutes and then add the cranberries and 1/3 cup of mini chocolate chips. (The chocolate chips will melt a little and that’s ok. It will help bind the mixture together.)
6. Pour the mixture into the lined baking pan. Lightly grease a spatula and use it to firmly press the mixture down. Press hard so the bars stay together!
7. Once bars are firmly pressed down, sprinkle the top with more mini chocolate chips. Gently press them into the top.
8. Cover and refrigerate the mixture for at least 2 hours.
9. Remove granola from the pan and peel away aluminum foil. Cut the big block in half, and then cut into bars or squares.
10. Store bars in an airtight container for up to a week. We bet they’ll be eaten before the week is up!