7 Steps To Create A Sustainable Window Box Garden
Sustainable window box gardening doesn’t need you to be a top-notch gardener.
Updated Sept. 29 2025, 8:29 p.m. ET

Your first window box probably didn't go as planned. Maybe you grabbed a cheap plastic container that cracked after one winter, watched plants die within weeks, or got a water bill that made you question your gardening ambitions. But honestly, sustainable window box gardening doesn’t need you to be a top-notch gardener.
After watching countless gardeners make the same mistakes, you can absolutely create window boxes that last. And here are the most notable steps they made.
Step 1: Stop Buying Cheap Containers
Many people grab the first plastic planter they see at the hardware store without knowing that those flimsy containers last exactly one season before cracking like eggshells.
So, you must invest in quality containers like those from Flower Window Boxes, among other high-quality brands, from the start. Wood-look composite materials will save you countless headaches. Although they look like real wood, they won't rot, warp, or need constant maintenance. You can also find PVC window boxes and metal boxes that would still be durable after years of use.
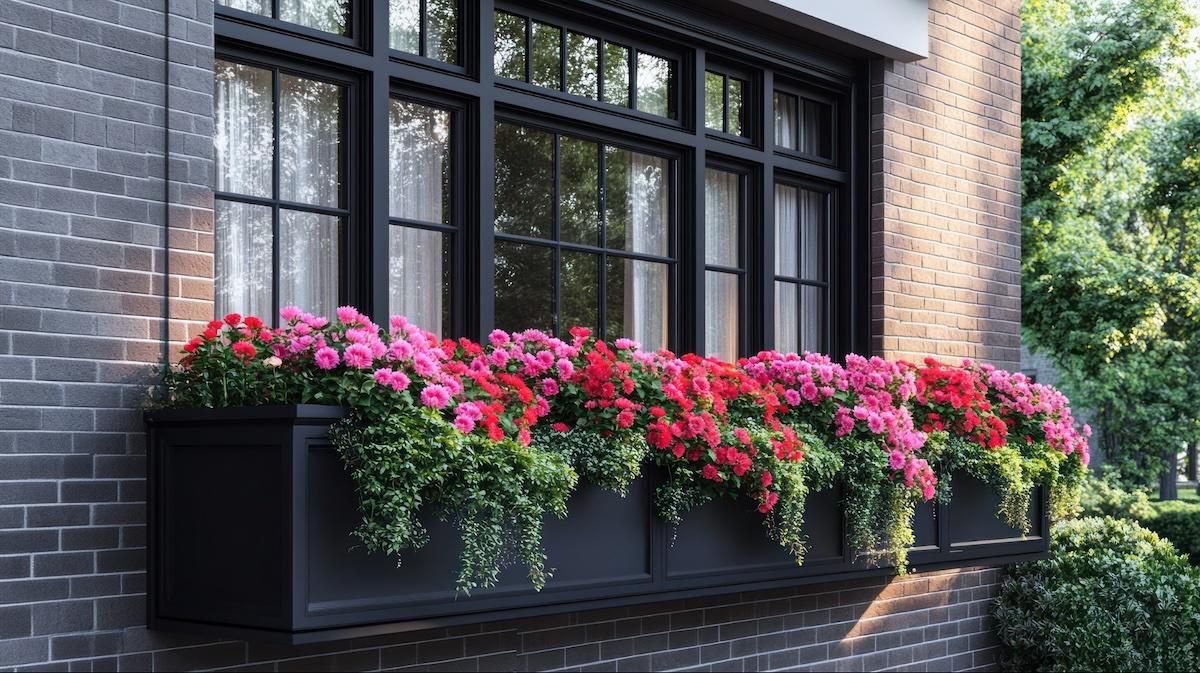
The container size matters more than you think. Small containers dry out ridiculously fast and give plant roots nowhere to grow. You'll learn this lesson quickly during your first brutal July heat wave when tiny 6-inch boxes need watering twice daily. So, you must stick with nothing smaller than 12 inches deep and as long as your window allows. Or you can find custom window boxes if they're available near you.
Remember built-in drainage holes. It seems like one of the most basic planter features, but too many beautiful containers without proper drainage turn into plant graveyards. Multiple holes work better than one big one.
Step 2: Water with Intention
Watering will consume your summer mornings if you let it. Every. Single. Day. But self-watering reservoirs can give you your life back, cutting your watering to maybe twice a week, even during scorching summers.
The science here is simple. Water sits in a reservoir below your soil, and plants drink what they need through capillary action. No more guessing, no more drowning your petunias because you panicked about dry soil.
If self-watering systems aren't in your budget, coconut fiber mixed into your potting soil works wonders. It holds moisture like a sponge but still lets roots breathe. Sphagnum moss does similar magic, though it's pricier.
Location plays a huge role too. That kitchen window facing south might seem perfect for herbs, but it becomes a plant sauna by afternoon. Sometimes working with your home's natural conditions beats fighting against them.
Step 3: Choose Plants That Want to Live
This takes most people embarrassingly long to figure out. You might spend years trying to grow sun-loving plants in shady north-facing windows, wondering why they keep sulking and dying.
Match plants to conditions, not the other way around. Shade-tolerant plants like Dryopteris erythrosora (autumn fern) can thrive in dim spots for years. Jester's Crown Ferns add texture without the drama of finicky flowering plants.
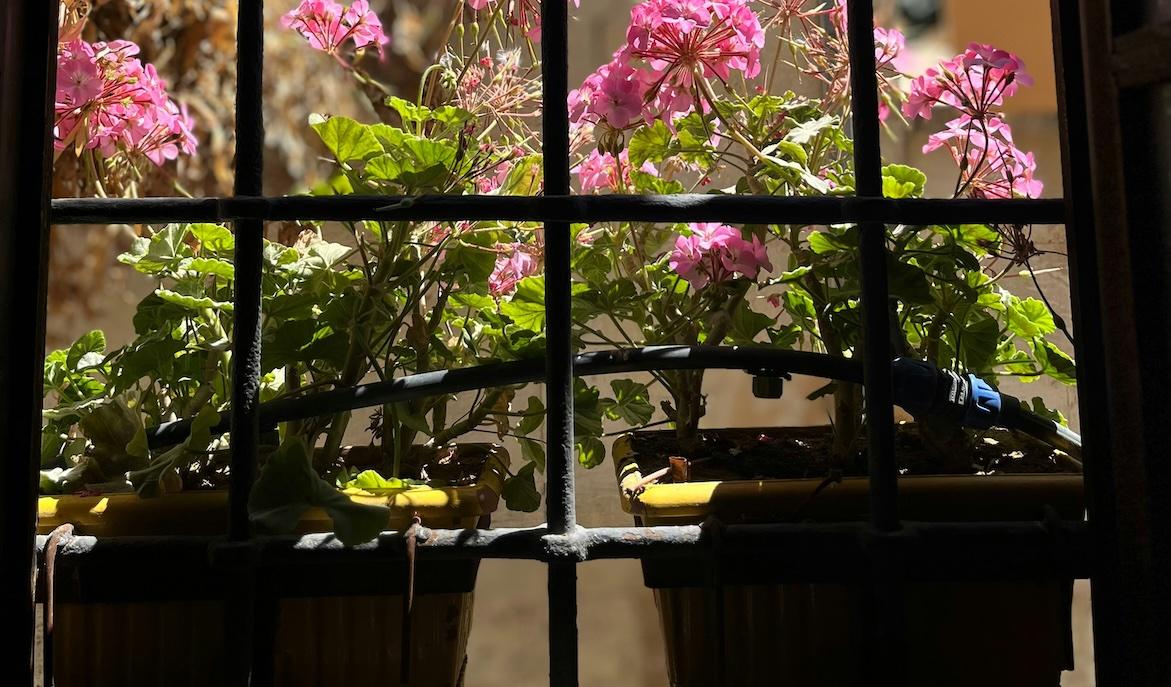
For sunny spots, embrace what grows easily in your area. Your local garden center knows more about your specific climate than any online guide. They might steer you toward Cuban oregano, which serves a triple duty as a cooking herb, an attractive foliage, and a natural bug deterrent.
Native plants really do use less water once established. You'll see the difference during your first drought when natives barely flinch while exotic plants wilt despite constant watering.
Step 4: Cultivate the Soil
Soil is where most people get fancy and mess everything up. You might be tempted to create elaborate mixes with seventeen different ingredients, which could turn out as a complete waste of time.
Start with decent potting mix then add compost and coconut fiber. That's it. The compost feeds beneficial soil creatures that keep everything healthy, while coconut fiber helps with water retention and drainage simultaneously.
Depth requirements matter more than soil recipes. Most annual flowers need 6-8 inches to be happy, but if you're growing anything with a taproot, go deeper. You'll spend months wondering why your basil looks pathetic if you skimp on depth.
pH testing sounds tedious, but it takes five minutes and prevents months of mysterious plant problems. Most plants prefer slightly acidic to neutral conditions, around 6.0-7.0. Simple test strips from any garden center tell you everything you need to know.
Step 5: Think Beyond This Season
Your biggest mindset shift should be planning for multiple seasons instead of starting over every spring. It's less work and way more satisfying to watch established plants return year after year.
Mix annuals with perennials strategically. Annuals give you seasonal color and the fun of trying new varieties, while perennials like White Torenia create a backbone that comes back reliably. Even in harsh climates, many plants survive winter with basic protection.
Plan succession plantings, too. Spring bulbs can share space with summer annuals, which make room for fall bloomers. One container, three seasons of interest, minimal replanting required.
Winter planning matters even if you live somewhere warm. Plants need rest periods, and constantly pushing them to perform burns them out. Give your perennials a break and let them go dormant naturally.
Step 6: Stop Fighting Nature
Chemical pesticides will turn your window boxes into sterile environments where nothing thrives. Work with natural systems instead of against them.
Companion planting works in containers. Cuban oregano near White Scaevola creates an attractive combination that aphids hate. You might stumble onto combinations like this by accident and start using them intentionally.

Proper spacing prevents most disease problems before they start. You might be tempted to cram plants together for instant fullness, then wonder why everything gets fungal issues. Give plants room to breathe, and problems solve themselves.
Inspect weekly, but don’t intervene every time. Many pest problems resolve naturally when you don't nuke every bug in sight. Hand-picking larger pests and using organic solutions sparingly maintains the balance you want.
Step 7: Develop Routines
Sustainable gardening means creating systems that work even when life gets busy. A five-minute weekly inspection prevents small problems from becoming disasters.
Look for water stress signs, check for pest activity, and remove spent flowers. That's it. No complicated procedures, just consistent attention that keeps everything running smoothly.
Deadheading encourages more blooms while preventing plants from exhausting themselves making seeds. Light pruning keeps things tidy and healthy. Both take minutes but make huge differences.
Keep notes on what works. Photograph your successful combinations and note when problems occur. This personal database becomes invaluable for improving each year's results.
Customer service from good suppliers helps too. Many companies offer Chat with an Expert services that beat generic online advice. Real people who know their products can solve problems you didn't even know you had.
Final Thoughts
Sustainable window box gardening is all about building systems that work with minimal intervention. Each season will teach you something new, and mistakes become valuable lessons rather than failures.
The payoff is a deep satisfaction in nurturing a thriving ecosystem right outside your window, knowing you're working with nature instead of constantly fighting it. Start with these steps, but adapt them to your situation. After all, the best sustainable garden is one that fits your lifestyle while supporting the world around it.