NEWS
FOOD
HEALTH & WELLNESS
SUSTAINABLE LIVING
About Us Contact Us Privacy Policy Terms of Use DMCA
© Copyright 2024 Engrost, Inc. Green Matters is a registered trademark. All Rights Reserved. People may receive compensation for some links to products and services on this website. Offers may be subject to change without notice.
WWW.GREENMATTERS.COM / SUSTAINABLE LIVING

Your Backyard Soil Will Love This ‘No-Dig Gardening’ Trend — and It Needs Just 5 Simple Steps

This technique helps your soil maintain its nutrition and fertility, therefore supporting your plants to thrive.
PUBLISHED JUN 22, 2025
A senior man is planting a sapling without digging the soil on the sides of his driveway. (Representative Cover Image Source: Getty Images | Thanasis Zovoilis)

With the crack of dawn, somewhere, a gardener trudges into their garden. They squat down on the garden bed and start digging the soil with a shovel. For them, it’s as harmless as a cup of morning tea. But within the innards of Earth, the soil is unhappy. Seemingly normal processes like digging, trenching, and forking can do more harm to the soil than good. After a series of repetitive digging, the soil loses its organic matter and eventually, its fertility, per the National Botanic Garden of Wales. More and more gardeners these days are therefore gravitating towards “no-dig gardening."

Close-up of a farmer planting a lettuce seedling on a community garden (Representative Image Source: Getty Images | FG Trade)

What is ‘No-dig gardening’?

Woman watering freshly planted lavender (Representative Image Source: Getty Images | Kaithryn Ziegler)

If soil is a giant ravenous beast, digging into its material can throw it off its natural intelligence, disrupt its chemistry, shrink its pore spaces, and weaken the spirits of nutrient-rich microbes crawling inside it. Too much digging can leach the soil of its nutrients. Also called “no-till gardening,” no-dig gardening is a cultivation trick that prepares the soilbed for plant or vegetable growth without disturbing the soil through digging or breaking up.


View this post on Instagram


A post shared by Sunflower and Sage Gardens | Jenn (@sunflower_and_sage_gardens)


“No Dig enriches the soil without disturbing it and reduces labor and weeds by using compost spread on top of the soil. You plant into the compost and let the roots find their way down into the soil beneath,” an expert explained to Saveur. The best time to start a garden with no-dig technique is during spring when the soil is not waterlogged, preferably late February or early March, according to the RHS. The No.1 Rule: Don’t disturb the soil.


How to cultivate a no-dig garden?

A gardener working and checking the soil, (Representative Image Source: Getty Images | Doughal Waters)

Starting a no-dig garden from scratch isn’t that tricky. All you need to pay attention to is how you layer the greens (nitrogen) and the browns (carbon) and how you soak each layer. According to the Botanic Gardens of Australia, there are numerous recipes for creating this garden. Commonly used ingredients include a newspaper or cardboard, pea straw, lucerne, hay, manure, compost, blood and bone, sugar-cane mulch, seaweed solution, leaves, lawn clippings, and shredded paper or plants. It takes just five simple steps.

Step 1: Create a double layer of cardboard

Seed in soil in cardboard cups (Representative Image Source: Getty Images | Ligora)

Find a suitable location, preferably one bathed in ample sunshine. Aerate the ground to trigger the colonies of nutrient-rich microbes lurking within. Lay a thick double layer of water-soaked cardboard or newspaper without leaving any gaps for weeds to push through. Experts at RHS suggest against using shiny or fancy cardboards for this purpose. Plus, make sure to remove any staples, paper clips, or tapes sticking to the pieces before laying them out on the bed.

Step 2: Make a generous layer of compost

Organic soil fertiliser. Preparing soil for planting, fertilizing with compressed chicken manure pellets (Representative Image Source: Getty Images | Andrea Bolzerova)

Load and squeeze the cardboard layer by weighing it down with a thick layer of composting materials like semi-processed food scraps, bony pellets, or organic mulch. This will make for the green nitrogen layer. For the brown layer of carbon material, add a generous amount of straw or sugarcane mulch soaked in seaweed solution or worm juice. Top this layer with fresh grass clippings or manure, which is the second green (nitrogen) layer.

Step 3: Sow the seedlings

Woman gardening and holding marigold flowers in her hands (Representative Image Source: Getty Images | Liliboax)

Once the layers of organic matter are well rotted and sufficiently deep, it’s time to sow the seeds. RHS recommends sowing the seeds directly into the mulch without damaging the soil layer, like we usually do while sowing.

Step 4: Dig the holes

Small holes dug into the soil of a garden bed (Representative Image Source: Getty Images | Andrea Bolzerova)

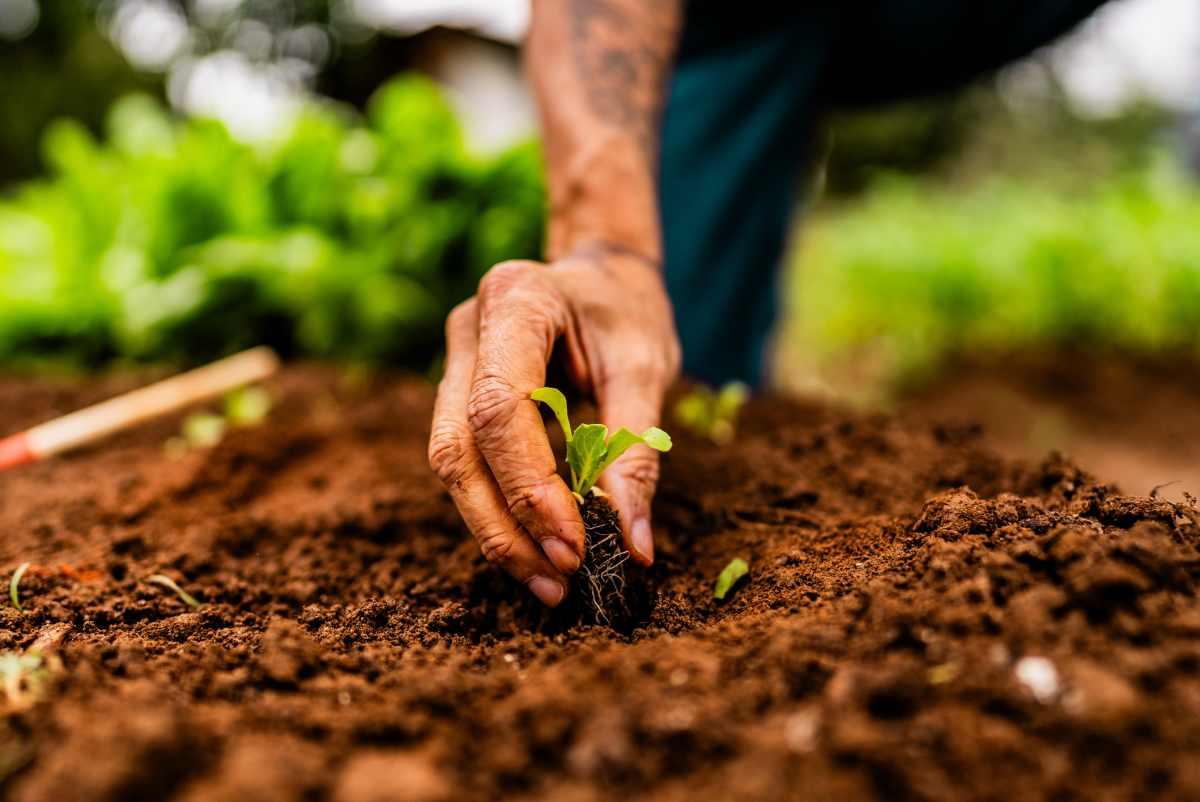
Despite this being a no-dig method, it’s absolutely okay to dig a few holes, as long as you make sure not to disturb the soil’s natural intelligence. Dig your instrument into the thick mulch to make space for planting bushes, trees, flowers, or potatoes. Make sure, however, that you don’t end up digging the whole bed.

Step 5: Add extra nutrients

Organic soil fertiliser. Preparing soil for planting, fertilizing with compressed chicken manure pellets (Representative Image Source: Getty Images | Andrea Bolzerova)

To make the soil even more nutritious and fertile for the new plants, you can add ingredients like fish emulsion, seaweed solution, molasses, worm juice, clay, or basalt rock dust.   


POPULAR ON GREEN MATTERS
MORE ON GREEN MATTERS